Once your DataPages have been created, you will need to deploy them to make them accessible to your users. Several deployment methods are available to meet your specific requirements.
Steps to deploy a DataPage:
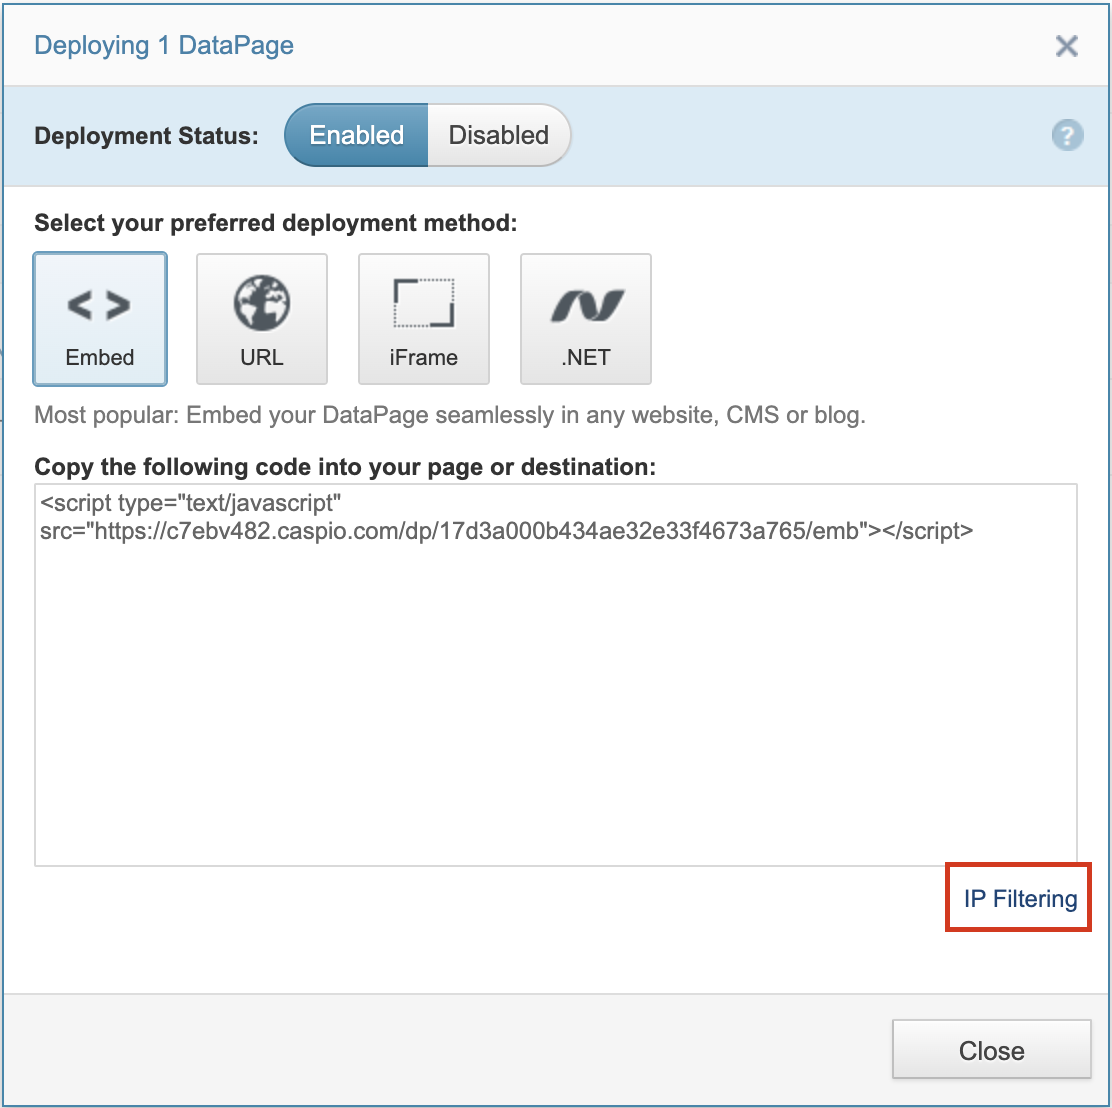
- In the DataPages view, select the DataPage and click Deploy. This opens the deployment dialog.
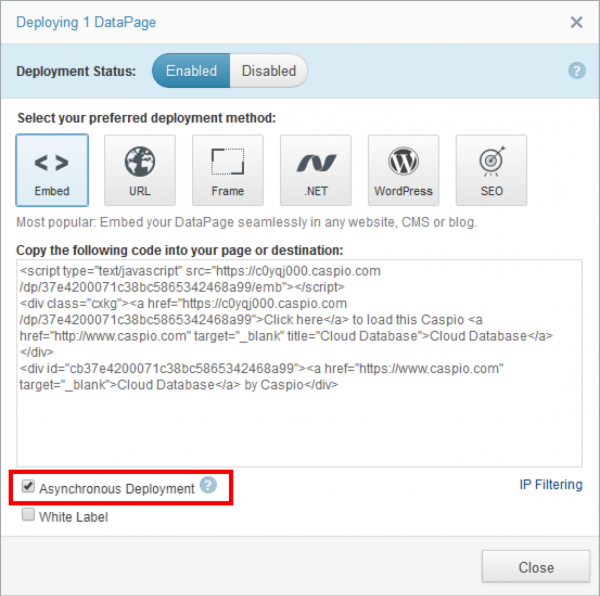
- Select Enabled if you are deploying a DataPage for the first time. It will change the Deployment Status of a DataPage and make it accessible outside Caspio.
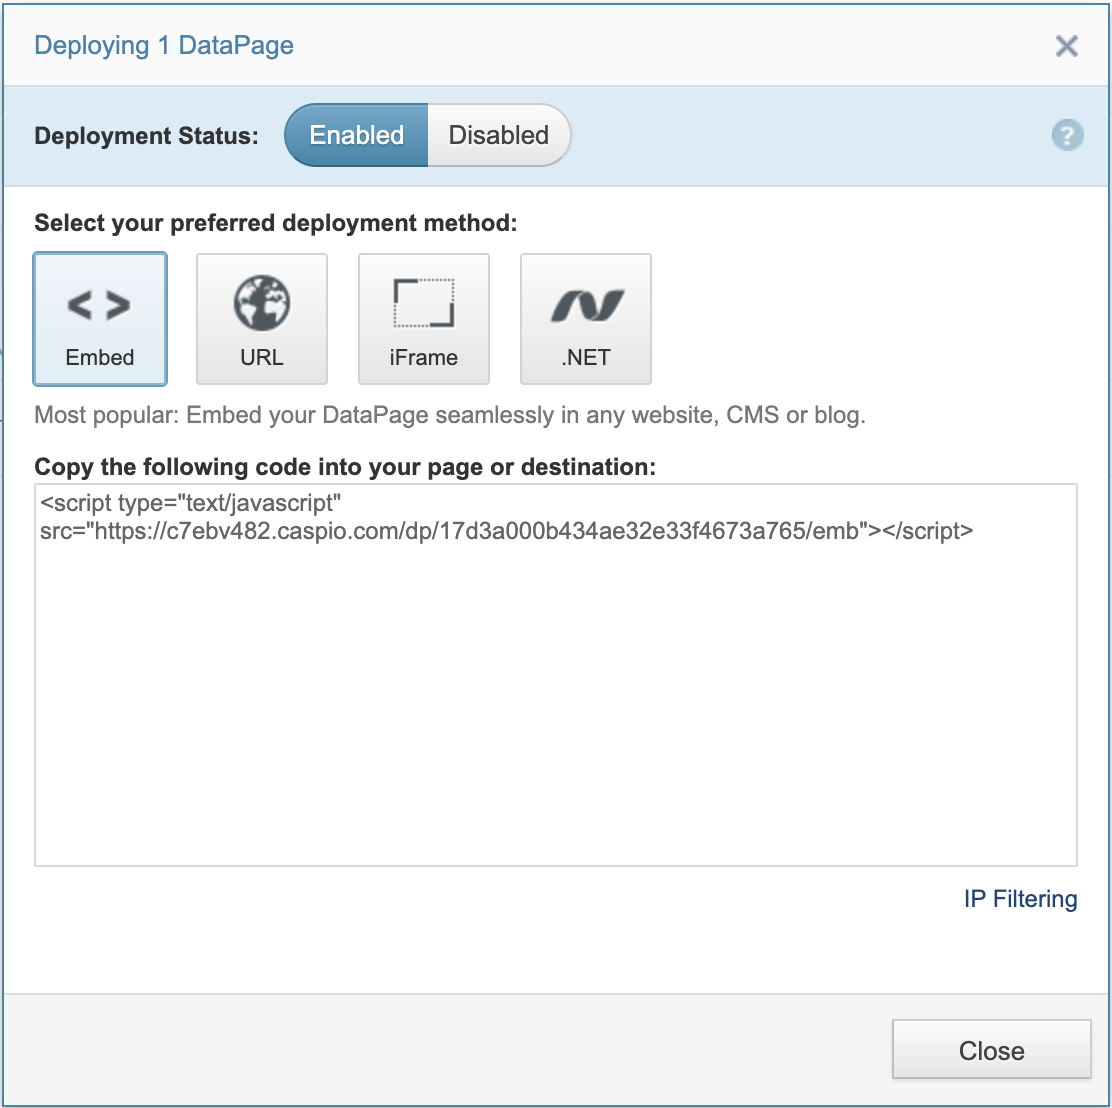
- Select your preferred deployment method.
- Embed – This is the most popular deployment method. Embedding a DataPage in an existing web page gives you control over the presentation of the DataPage and the layout of your web page. This method requires JavaScript on the user’s browser, which is a standard feature of all modern browsers.
- URL – URL is the quickest way to share a DataPage. You can copy the URL and place it on any website or in an email. If you choose the Link option under URL, the URL will be automatically wrapped around the DataPage name.
- iFrame – iFrame deployment is useful when, for any reason, the Embed method is not preferred. A DataPage deployed with an iFrame does not interact with its container page content. Therefore, it is not a good approach if your DataPage receives parameters. You can further enhance the provided code snippet to give the iFrame a specific height, width, border, background color, etc. Here you can find more information about iFrame attributes.
- .NET – Use this method for deploying into SharePoint, aspx, C# and VB.Net pages only.
Note: For data security reasons, the deploy code of all DataPages is automatically offered in HTTPS protocol.
- Copy and paste the code into the source of your web page using an HTML or text editor. Note that you should not paste the code into a WYSIWYG editor, but into the source code of the page.
- Your deployed DataPage will only work properly when its host page is served by a web server. Upload your page to your web server if needed and then verify your deployment.
IP Filtering
You can restrict access to your DataPages to one or more IP addresses or address ranges. The default behavior of the DataPage can be set to Allow All or Deny All with the list of exceptions.