Views can be used to join multiple tables, where columns from tables are unified to display in a single virtual table. Joined tables must have associated fields for the view to work. In Caspio, joining tables is useful when using data from several tables in one DataPage.
Steps to creating a view with multiple tables:
Make sure your tables are using ID fields
To join multiple tables these tables must contain ID fields. ID fields are used to match up records that are associated.
In this article, we show you how to create a view that joins two tables together. The example is about a real estate application that has a table for real estate agents and another for properties listed for sale. Each agent may have one or more properties.
- In the Caspio homepage, select an app in which you are looking to add two new tables and a view. Click Open.
- First, create a table for agent profiles and include an Agent ID field of data type Autonumber, and add a few unique agents via Datasheet. The Agent_ID field will later be used in joining the tables.
- Create a second table, this one for real estate properties. In this table include an Agent_ID field of data type Number with sub type Integer. In Datasheet, add a few sample properties for a few agents. Use Agent_IDs that exist in the first table.
- Next, select Views on the sidebar menu and click New View.
- On Create a New View screen, name your view. Only letters, numbers, and underscores are accepted. Next, select your two new tables from the Available Tables list and move them to the Selected Tables list, then click Next.
- On the View Properties screen, you should associate the two Agent_ID fields together. By default, view field names are a combination of the table name, a period, and the original field name. Choose the fields on the left and right dropdowns, and select Include only matching records on both sides. Click the + button to add this association to the view.

You will see the association in the section below. The join type depends on how the radio buttons are selected and have the following meaning:- Inner join – Includes only matching records which are present in both Tables. So if an agent has no property listing or if a property has an agent that is not in the agents table they are not included.
- Left Outer Join – Includes all records in the Left Table and only matching records in the Right Table. If the left table is your agents table, and some agents have no properties, this could result in a view that display all agents but blank in property fields of some agents.
- Right Outer Join – This is the reverse of the Left Outer Join. Assuming Agents are on the left, this could lead to showing properties that have blanks in their agent fields.
- Full Outer Join – Includes all records in both tables, even when there are no matching records on the other side. In this case you will have both properties without agents and agents without properties.
If you are creating a view between tables that already have table Relationships, this screen comes pre-filled with that relationship.
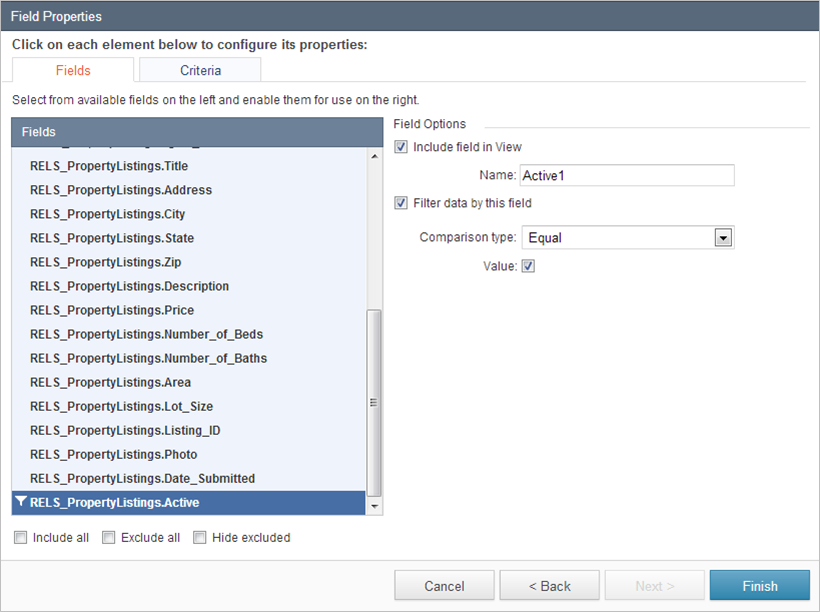
On this screen you can also choose to make one of the tables used in your view editable in Datasheet and DataPages. - The next screen of the wizard is Field Properties where you can configure the settings of each field. You can add or remove fields, and change labels. In the Criteria tab you can use the drag and drop interface to configure the specific elements, their value and the operators between them for filtering data. Click Finish when done.
- Click Open to see your newly created view in Datasheet. Each record should be displaying the complete property details and its associated agent.