You can organize your app so that specific user groups can access your DataPages. You can use filtered Views based on a user table to create user permissions in your app. Using these filtered Views, you can limit access to authenticated DataPages based on user profile permission data.

In this example there will be two users, Admin and Staff with different permissions. Admin users may access all DataPages, but Staff users only access certain DataPages.

Steps to creating user permissions:

To implement this:

  1. Add the permission fields (i.e. admin, staff, …) to your users (authentication) table
  2. Create filtered view for each user permission
  3. Create authentication for each user permission and apply to the DataPages accordingly

Add permission fields to users table

Open your users table in Design mode and add a Yes/No data type field to indicate if this user is an Admin user. The name of this field is Admin.

Create a filtered view

Next, create a filtered view of the users table. This view will display only the users with a Yes value in the Admin field. Navigate to the sidebar menu, click Views and click New View.

Name the view and select your users table as the source. In this case, the view name is Admin_Users and the table selected is User_Profile_Table. Click Next.

Select the Admin field on the Fields panel and check Include field in View on the right. View fields are named by combining the name of your table, followed by a period and finished with the original field name but you can change them.

Go to Criteria tab to configure your filter. Select the logic element from the left, drag and drop to the right panel. Select Admin from the Field list. Leave the Comparison type to Equal, and enable the checkbox. This view will display records with a checked value in the Admin field, so only users that are selected as Admin will be displayed in the view.

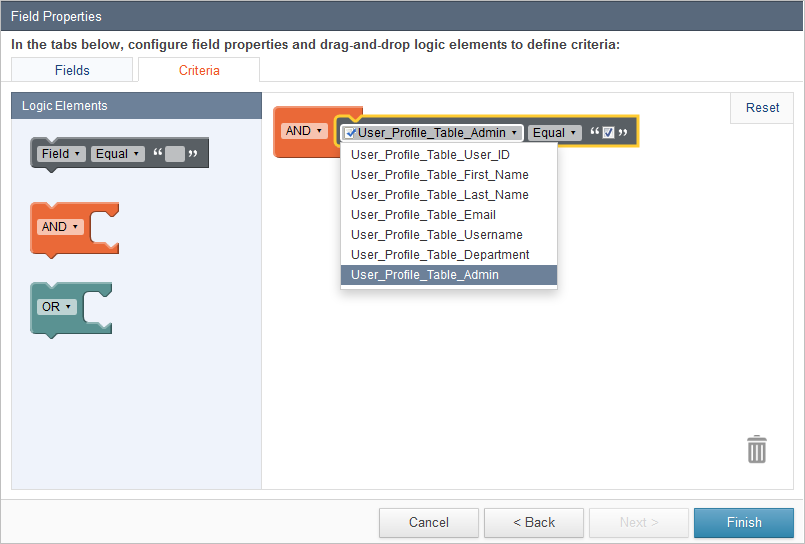
Click Finish. If the data is present in your users table, you can open this view in datasheet mode to verify that the records are being filtered correctly.

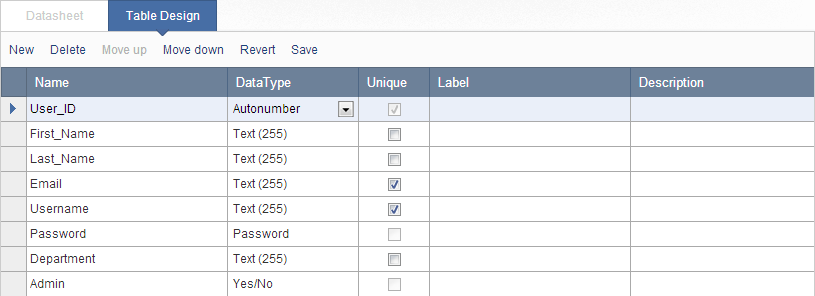
If you have more than one user group, you must have one permission field for each such as Staff, Public or any other user group.  You can add the field as explained in the previous step and similarly create a view to filter based on the permission field.

Create authentication object and apply to DataPages

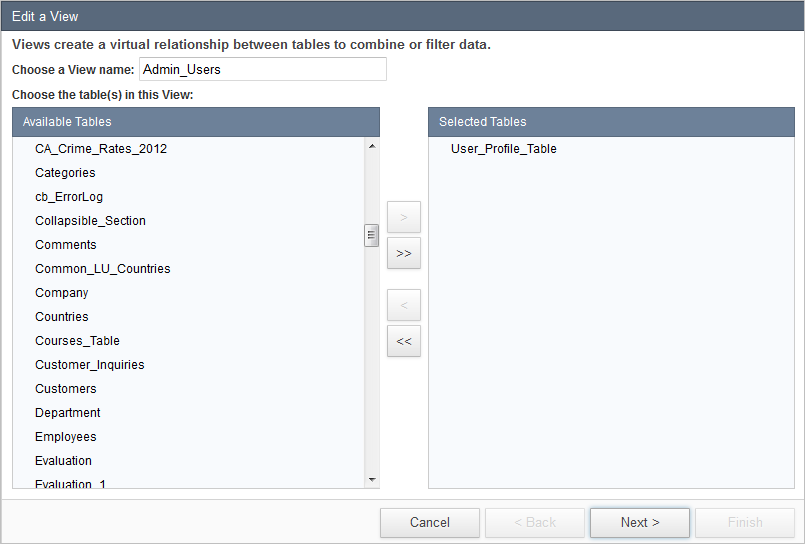
  1. Create an authentication object for Admin user group. In this step you will create an authentication based on the view created in the previous step.
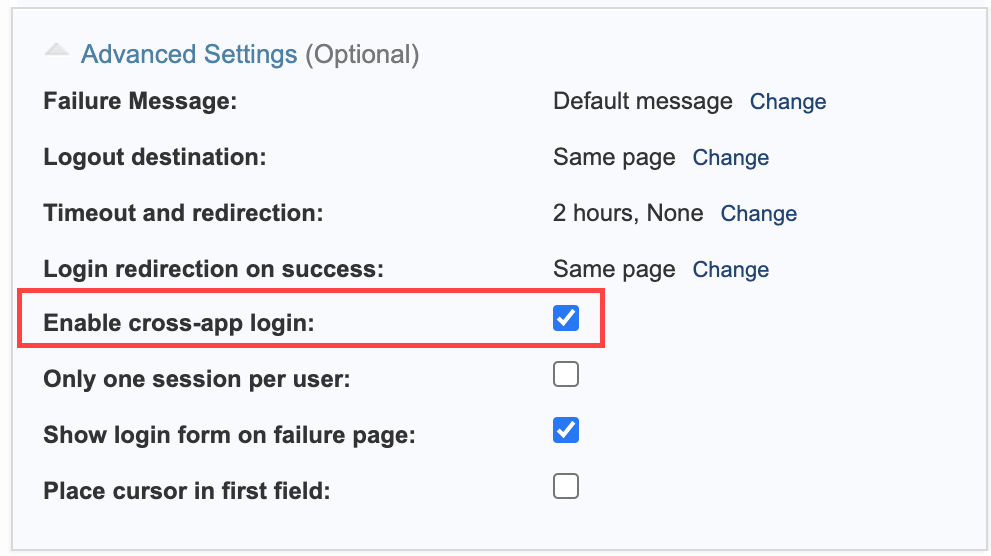
  2. In the authentication wizard, select the view as authentication data source, scroll down and expand Advanced Settings to open additional customization options. Check Enable cross-app login. This allows the admin user to automatically access other protected DataPages that are using the same base table as their Authentication data source. Click Finish.
  3. You have created a filtered view and an authentication for the Admin group in your app. You can now apply the authentication to your DataPages where users with admin permission will be able to access.

For DataPages that are accessible to Staff users, repeat the same steps of adding Staff permission field to the table.  Create a filtered view based on the Staff field, create an authentication based on the Staff_Users view and apply authentication object to the DataPages. Thereby the users with Staff permission will be able to access.

If you have DataPages that should be accessible to all users, yet still password protected, simply use the users table instead of the filtered view as the source of your authentication and apply the authentication object to those DataPages.