AI Assistant Overview
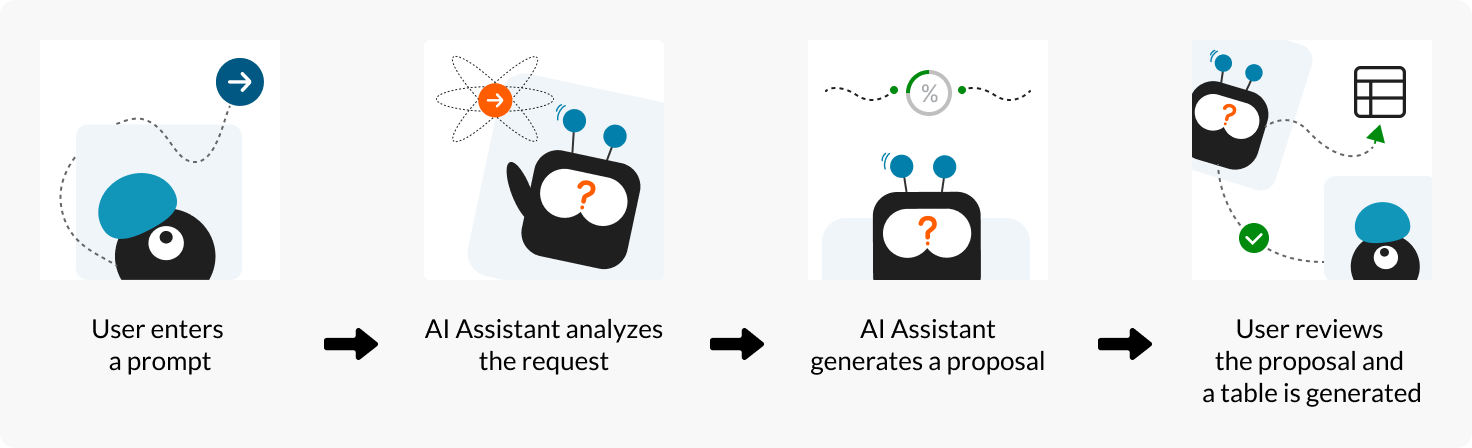
6 minutes to readOur AI Assistant uses advanced natural language processing (NLP) algorithms to understand your input and respond to your queries. The process involves analyzing your prompt, identifying relevant data attributes, and organizing them into a coherent schema to either generate objects in your app or provide answers to your questions.
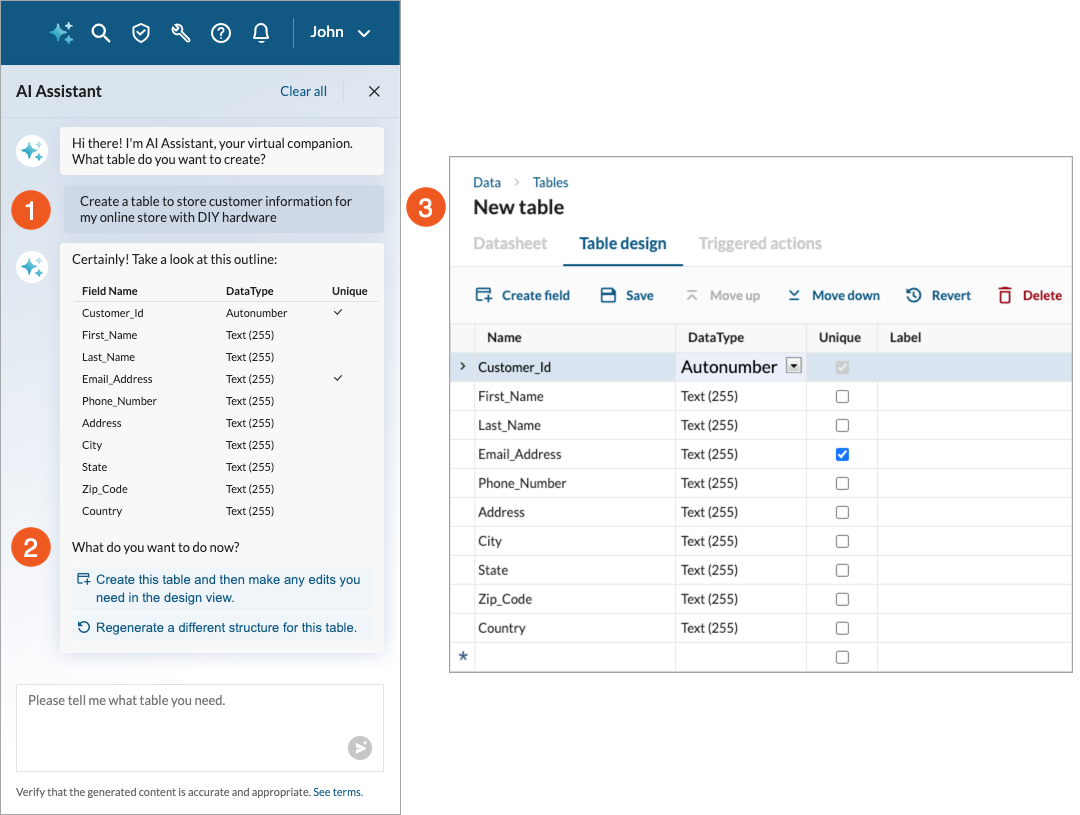
For example, if you ask AI Assistant to create a table, the result is a structured table with fields and data types that align with your input:
When a proposal is ready, AI Assistant gives you a few options to interact with the suggestion. You can:
- Create a table in your app based on the proposed structure. The table opens in the design view so that you can make any necessary edits.
- Regenerate a table structure within the AI Assistant panel without changing the prompt. You can then compare the suggestions and choose the one that suits you most. Note that the differences between the alternative suggestions might be very subtle (such as a field name).
- Enter a new or modified prompt (for example, with more details).
If you are the account owner or administrator, you can choose whether to make the AI Assistant available to your account users by turning the feature on or off in the Account settings view.
If the feature is turned on, the AI Assistant panel is displayed by default on either the Data > Tables view or in the list of tables for any application. If you need more space on the screen, you can hide the panel.