Create a Standalone Login Screen
2 minutes to readWeb User Authentication presents a login screen before an end user can access protected DataPages. Sometimes you may want to provide separate login screen on a web page without any DataPages, such as your homepage. This article explains how you can create a separate login DataPage which, upon successful login, directs end users to another URL automatically.
Steps to create a standalone login screen:
Create an HTML DataPage
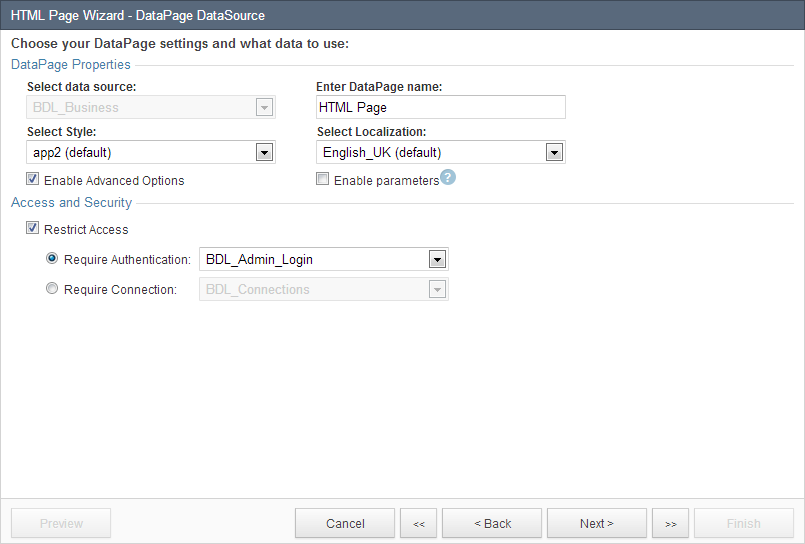
Create a new DataPage by clicking New DataPage and selecting HTML as DataPage type. After choosing HTML page, go to the next screen and enable restrict Access based on your authentication.
Use JavaScript to redirect user after successful login
On the next screen HTML Source, there is an empty panel where you can enter HTML code. Add the following JavaScript to redirect the end-user to a main dashboard. You can also use a JavaScript here if you wish to redirect users to different areas of your website based on user type. This is explained in detail in the tech tip: Create User Specific Redirect After Login.
<script>
window.location = "http://www.mysite.com/dashboard.html";
</script>
Replace the URL from http://www.mysite.com/dashboard.html to your site URL where you want to redirect the user. Click Finish.
Deploy the HTML DataPage
Now you can deploy the HTML DataPage to your web page. Keep in mind that after a user has logged in, they will no longer be able to view the original web page. They will be redirected immediately to the specified destination URL.
