• search
  • Contact Sales
  • Support
    • Online Help
    • Community Forum
    • Contact Support
  • Log in
Get a Demo Try Free
High Contrast
Caspio logo Help
Try Free
  • High Contrast
  • search
  • Contact Sales
  • Support
    • Online Help
    • Community Forum
    • Contact Support
  • Log in
Get a Demo Try Free
  • Help Center
  • Integrate and Extend Your Apps
  • Extensions
  • QR Code Generator
  • Launch Your Caspio Journey
  • Create Applications
    • Applications Overview
    • Creating Apps With Bridge
      • Bridge App Overview
        • Creating a New App Container
        • Importing an App
        • Exporting an App
        • Deleting an App
        • Shared Objects
        • Backing Up Your Applications
        • Sharing an App with Another Account
        • App Parameters
          • Adding App Parameters
          • Managing App Parameters
          • Using App Parameters
      • Authentication
        • Setting Up User Permissions in Your App
        • Adding a Logout Link
        • Record Level Security
          • Create a Workflow using Record Level Security and Filtered Dropdown
          • Restrict Access to Data by User or Role
          • Filter Lookup Dropdown or Listbox Based on User or Role
        • Stamp a Record with User Profile Data
        • OpenID
        • Create a Standalone Login Screen
        • Hiding Multiple Login Forms
      • DataPages
        • What is a DataPage?
        • DataPage Types
        • Forms
          • Submission Forms
          • Update Forms
          • Password Recovery Forms
          • Form Element Types
          • Conditional Forms
          • Child Forms
          • Accepting Payments in Your Application
        • Reports
          • Creating a Report DataPage
          • Comparison Types in Report DataPages
          • Search by Distance
          • Report Page Results Layout
          • Interactive Reporting Options
          • Pivot Table Reports
          • Counting the Number of Times a Record Has Been Viewed
          • Display a Field Data as Hyperlink
          • Fixed Rows and Columns
          • Making the Search Results Downloadable as PDF
          • Editing Data Through My Details Page
          • Making the Details Downloadable for Users
          • Data Editing Options in Reports
          • Combined Chart and Report
          • Adding “Today” to “After Now” or “Next X Days” Criteria
          • Filtering Reports Based on an Expiration Date
          • Advanced Reporting
            • Calculations in Reports
            • Data Grouping
            • Totals and Aggregations
            • Calculated Fields and Datediff Function
        • Charts
        • Calendars
          • Calendar DataPage – Monthly Example
          • Calendar DataPage – Weekly Example
        • HTML Pages
        • DataPage Components
          • Dropdowns and Listboxes
          • Cascading Elements
          • Calculated Values
          • Field Configuration Options
            • Field and Column Width
            • Placeholder Text
            • Rollover Hints – Mouse-Over Help Icon
            • Image Auto-Rotation
          • DataPage Header and Footer
          • HTML Blocks
          • Disabling HTML Editor in DataPage Header/Footer and HTML Blocks
          • Field Formatting Options
          • Custom Date Formatting
          • Multi-column and Sections
          • CAPTCHA
          • Virtual Fields
          • Setting up Default Values
          • AutoComplete
        • Managing DataPages
          • Modifying DataPages
          • Previewing DataPages
          • Moving DataPages
          • Copying DataPages
          • DataPage Revisions
          • DataPage Folders
          • Exporting and Importing DataPages
          • Moving Existing DataPages To a New App
        • Responsive DataPages
          • Responsive DataPage Prerequisites
          • Responsive Behavior on Tablet and Mobile
          • Modifying Styles for Tablet and Mobile
        • AJAX Loading
        • PDF Download
          • Adding a text watermark
          • Adding an image watermark
          • Adding page breaks to details page
          • Adding header and footer
        • Best Practices in Creating Caspio Applications
      • Notifications
        • Email Notifications
          • Verifying Email and Domain
          • Configuring Email
          • Setting Up Dynamic or Conditional Notification Emails
        • SMS Notifications
          • Configuring the SMS-enabled Countries
          • Configuring SMS
          • Adding SMS Sender Name
      • Parameters
        • Parameter Types
        • System Parameters
        • Passing Parameters through Caspio
        • Displaying Parameters
        • Parameters as Query String Values
        • Receiving Parameters
        • Resetting Parameters
        • Passing Multiple Values in One Parameter
        • Formatting Parameters in Email Body and HTML Blocks
        • Parameters in Dropdowns, Listboxes and Radio Buttons
        • Custom Filter Elements
      • Connections
        • SAML Single Sign-On
        • Setting Up ID Services
      • Styles
        • Creating or Editing a Style
        • Layout Options
        • Fix the Width of the DataPage
        • Button Alignment
        • Field Alignment
        • Border Options
        • Using Google Web Fonts
        • Glossy Heading Text
        • Gradient Backgrounds for DataPages
        • Gradient Backgrounds for Fields
        • Replace Links to Records with Images
        • Replace Standard Buttons with Images
        • Change the Color of Field Error Labels
        • Change Text on a Button
        • Put Multiple Fields on One Line
        • Styling Advanced Reports
        • Add Rounded Borders to the Form and Fields
        • Use an Image as Form Background
        • Fix the Width of Labels and Data in List and Gallery Reports
        • Customize the ID Service Icon of the Login Screen
      • Localizations
        • Creating or Editing a Localization
        • Handling Arabic, Hebrew and Other Right-to-Left Languages
        • Formatting Options
        • Using Localization Feature to Improve Usability
        • Format Types
      • Files and Images
        • Uploading Files and Images
        • FileStor CDN
        • Managing Files
        • Bulk File Import and Export
        • Creating Thumbnails with the Image Resizer
        • Using Files in DataPages
        • Orphan File Cleanup
    • Creating Apps With Flex
      • Flex Overview
      • Roles
        • Creating New Roles
        • Adding Users and Groups to Roles
        • DataPart Display Based on the User Role
        • Editing Role Permissions
          • User’s Own Records
          • Custom Access
        • Removing Users and Groups from Roles
        • Deleting Roles
      • Application Design
        • Segments
          • Editing Segment Settings
          • Themes and Widgets
        • Adding AppPages
        • AppPage Types
        • Moving DataParts
        • Resizing DataParts
        • Adding DataParts
        • Forms
          • Form Elements
          • Search Form
          • Submission Form
          • Details/Update Form
        • Reports
          • Tabular Report
          • Card Report
          • Pivot Table
        • Sign-up Form
        • Charts
          • Creating and Configuring Charts
          • Chart Display Options
        • Text/HTML
        • Data Filters
          • Creating Filters
        • Calculated Values in Flex DataParts
        • Communication Between DataParts
        • Designing User-Friendly Navigation Between AppPages
      • Parameters
        • Inserting Parameters
        • Application Parameters
        • Adding Support for Lookup Values in Data Source Parameters
        • Stamping Records with User ID
      • Branding
      • Flex FAQ
  • Manage Users and Groups
    • Directories Overview
      • User Authentication in Directories
      • Converting Tables to Directories
      • Creating Directories
    • Directory Users
      • User Status Overview
      • Creating Users
      • Activating Users
      • Adding Users to Groups
      • Resetting User Passwords
      • Resetting Two-Factor Authentication
      • Suspending and Unsuspending Users
      • Changing User Sign-In Method
    • Directory Groups
      • Creating Groups
      • Modifying Groups
      • Deleting Groups
    • Directory Security
      • Session Management
      • Turning On Two-Factor Authentication
      • Customizing Directory Security Policy
      • Redirecting to Custom URLs After Sign-in and Sign-out
    • Directory User Portal
    • Directory Emails
    • Identity Providers
      • Adding Identity Providers
        • Tutorial: Adding Microsoft Entra ID (formerly Azure AD) Identity Provider
        • Tutorial: Adding Okta Identity Provider
        • Tutorial: Adding OneLogin Identity Provider
      • Editing Identity Providers
      • Deleting and Disabling Identity Providers
      • Configuring Single Logout
    • App Connections
      • Creating App Connections 
        • Authenticating Users to Caspio Apps in Multiple Accounts Using a Single Directory
        • Tutorial: Adding HubSpot App Connection
        • Tutorial: Adding BambooHR App Connection
        • Tutorial: Adding Slack App Connection
      • Managing App Connections 
      • Deleting and Disabling App Connections
  • Manage and Organize Your Data
    • Data Management Overview
    • Tables and Views
      • Creating Tables
      • Modifying a Table’s Design
      • Removing Blanks From a Dropdown or Listbox
      • Lookup Tables
      • Views
        • Creating a View to Filter Data
        • Creating a View to Join Tables
        • Self-Join Views
        • Modifying Views
        • Importing and Exporting Views
    • Data Types
      • List Data Types
      • Function Reference
      • Adding a Formula Field in a Table
      • Managing Files With the Attachment Data Type
    • Managing Data in Datasheet
      • Find and Replace Specific Values
      • Filtering Data
      • Downloading Table or View Data
    • Database Relationships
      • Relationship Settings
    • Importing Data
    • Exporting Data
    • Sharing Data Between Apps
    • Best Practices for Designing Databases and Tables
    • Logs
      • Managing Logs
        • Logs Retention Period
      • App Access Logs
      • Directory Logs
      • Email Logs
      • Integrations Logs
      • Payment Logs
      • SMS Logs
  • Leverage AI
    • AI Assistant Overview
  • Automate Tasks and Workflows
    • Automations Overview
    • Triggered Actions
      • Creating a Triggered Action
        • Actions
          • UPDATE
          • DELETE
          • INSERT INTO
          • SEND EMAIL
          • SEND SMS
        • Data
          • SELECT
        • Logic
        • Loops
        • Text
        • Number
        • Date
        • Variables
    • Tasks
    • Data Import/Export Tasks
      • Data Import Tasks
      • Data Export Tasks
      • Configuring a Repository Site
      • IP Addresses for Data Import/Export Tasks
      • Data Import/Export Tasks Tips and Best Practices
  • Generate PDF Documents
    • Document Generation Overview
    • Creating Templates
    • Mapping Fields in Templates
    • Template Field Types
    • Configuring Template Settings
      • Formatting Field Values
      • Adding Watermarks
      • Encrypting PDF Documents
      • Configuring PDF Document Properties
      • Changing PDF File for a Template
    • Enabling Document Generation in Applications
    • Managing Templates
  • Integrate and Extend Your Apps
    • Integrations Overview
    • Webhooks
      • Getting Started with Webhooks in Caspio
      • Webhooks Rules and Limitations
      • IP Addresses for Webhooks
      • Creating and Managing Webhooks
        • Configuring Call Throttling
      • Creating and Managing Events
        • Event Types
        • Activating or Deactivating Events
      • Testing Webhooks
    • Extensions
      • AI-Powered GPT Connect
      • Extension for Slack
      • QR Code Generator
      • Barcode Generator
    • Web Services API
      • Creating a Web Services API Profile
      • Authenticating REST API
      • Important Header Parameters
      • Special Considerations
      • Error Handling
      • Swagger UI
      • Migration from REST API v2 to v3
    • Integration with Make
    • Integration with Zapier
  • Deploy Your Apps
    • Deploying Bridge Apps
      • General Deployment Guide
      • Remove iFrame Border and Change Size
      • Block Access to DataPages by IP Address
    • Deploying Flex Apps
      • Mapping a Friendly Subdomain
  • Manage Account and Billing
    • Account Settings
    • Account Users, Groups and API Profiles
      • Inviting New Account Users
      • Creating Groups for Account Users
      • Managing Permissions
      • Changing Account Owner
    • Changing Your Plan
    • Updating Payment Information
    • Payment History
    • Custom Domain
    • Account Notifications
    • Resource Usage
    • Caspio ID
      • Managing Your Caspio ID
      • Forgot Your Password
      • Getting Support PIN
    • Support Login
    • Search for Objects
  • Videos
    • Bridge Videos
      • Build Your First App
      • Recorded Training
      • Customize Your Apps
      • Advanced Topics
      • Full App Implementation
      • Tips and Tricks
    • Flex Videos
      • Build Your First App
      • Recorded Training
  • Resources and Best Practices
    • Frequently Asked Questions (FAQ)
    • Tech Tips
    • Troubleshooting
      • Troubleshooting SMS Delivery
      • Troubleshooting Email Delivery and Domain Verification
      • Cannot Log in to My Caspio Account
      • Issue with Login to Apps or DataPages
      • Issue with Redirection After Logout
      • Acknowledgement Emails Are Not Received
      • Issues with Email Verification Code
      • JavaScript Does Not Work with Multiple DataPages
      • Cannot See an SSL Lock Icon for My Web Page
      • Responsive UI Does Not Display Properly
      • Date Fields from Excel Import Incorrectly
      • Troubleshooting Custom PDF Generator
      • Troubleshooting Data Import Speed
      • System Limitations
      • Errors and Messages
    • System Requirements
    • Deprecations
      • Deprecation of Twitter as an ID Service in Authentications and Connections
      • Deprecation of Google Drive for Data Import/Export Tasks
      • Deprecation of HTTP Deployment
      • Deprecation of the Option to Disable AJAX Loading
      • Deprecation of MS Access for Import/Export
      • Deprecation of Cb_ErrorLog Tables
      • Deprecation of Google Map Mashup Generator
      • Deprecation of Frame Deployment
      • Deprecation of .xls Excel Format for Data Import
      • Deprecation of SEO Deployment Method
      • Deprecation of WordPress Deployment
      • Deprecation of Unverified Email Addresses
      • Deprecation of SOAP Web Service
      • Deprecation of Internet Explorer 11 and Microsoft Edge Legacy Browsers
  • Release Notes
    • Caspio 60.0
    • Caspio 59.0
    • Caspio 58.0
    • Caspio 57.0
    • Caspio 56.0
    • Caspio 55.0
    • Caspio 54.0
    • Introducing Flex
    • Caspio 53.0
    • Caspio 52.0
    • Caspio 51.0
    • Caspio 50.0
    • Caspio 49.0
    • Caspio 48.0
    • Caspio 47.0
    • Caspio 46.0
    • Caspio 45.0
    • Caspio 44.0
    • Caspio 43.0
    • Caspio 42.0
      • Known Issue: Scrolling on macOS Devices
    • Caspio 41.0
    • Caspio 40.0
    • Caspio 39.0
    • Caspio 38.0
    • Caspio 37.0
      • Impacted Areas 37.0
    • Caspio 36.0
    • Caspio 35.0
    • Caspio 34.0
      • Impacted Areas 34.0
    • Caspio 33.0
    • Caspio 32.0
    • Caspio 31.0
      • Impacted Areas 31.0
    • Caspio 30.0
    • Caspio 29.0
    • Caspio 28.0
    • Caspio 27.0
    • Caspio 26.0
    • Caspio 25.0
    • Caspio 24.0
    • Caspio 23.0
    • Caspio 22.0
    • Caspio 21.5
    • Caspio 21.0
      • Impacted Areas 21.0
    • Caspio 20.0
    • Caspio 19.0
      • Impacted Areas 19.0
      • Security Patch 19.5
    • Caspio 18.0
    • Caspio 17.0
    • Caspio 16.0
    • Caspio 14.0
      • Impacted Areas 14.0
    • Caspio 15.0
    • Caspio 13.0
      • Caspio 13.0
      • Impacted Areas 13.0
    • Caspio 12.0
      • Impacted Areas 12.0
    • Caspio 11.0
      • Impacted Areas 11.0
    • Caspio 10.0
    • Caspio 9.9
      • Impacted Areas 9.9
    • Caspio 9.8
    • Caspio 9.7
    • Caspio 9.6
      • Impacted Areas 9.6
    • Caspio 9.5
      • Impacted Areas 9.5
    • Caspio 9.4
      • Impacted Areas 9.4
    • Caspio 9.3
      • Impacted Areas 9.3
      • Caspio 9.3
    • Caspio 9.2
      • Impacted Areas 9.2
    • Caspio 9.1
      • Impacted Areas 9.1
    • Caspio 9.0
      • Known Issues 9.0
      • Impacted Areas 9.0

QR Code Generator

6 minutes to read

With the QR Code Generator extension, you can create various types of QR codes based on your table data and save them directly in your tables. This extension allows you to customize QR codes with logos, colors, and styles to align with your brand or specific requirements.

Using QR Code Generator

Prerequisites: Install the extension. 

  1. On the list of extensions, click Open next to QR Code Generator.
  2. On the Agents screen, click Create agent.
  3. In the right panel that opens, enter the name of your agent.
  4. Select the profile for this agent. See Profile Settings.
  5. Under Trigger, select the data source and the type of event that will activate this agent.
  6. In the Outgoing data items section, specify your QR code content. The system will display input fields relevant for QR code type selected in the profile settings.
    Optionally, add a company logo. See Outgoing Data Items.
  7. In the Incoming data items section, specify where the generated QR code image and the generation status will be stored in your table.
  8. Click Create. 
Profile Settings

Profile, or a configuration shared between agents, has the following options for QR Code Generator:

  • QR code type: Select the type of QR code to generate. This setting determines which input fields are visible in the Agent configuration. The following QR code types are available:
    • Numeric: Contains numbers only.
    • Alphanumeric: Contains numbers (0–9) and uppercase letters (A–Z). 
    • Byte: Contains any ASCII byte data, including special characters. ASCII is a standard encoding format used for text and symbols in computers and electronic devices. 
    • Kanji: Contains Japanese characters, including Hiragana, Katakana, or Kanji.
    • UTF-8: Contains international characters and symbols, compatible with most modern applications and languages. 
    • URL: Links to a website. This is the default option.
      Example: https://example.com 
    • Wi-Fi: Contains Wi-Fi credentials for automatic connection. Required input values: Wi-Fi name, encryption, and password.
    • Email: Creates an email with a predefined subject and body. Required input values: recipient email address, email subject and body.
    • SMS: Sends a predefined text message. Required input values: recipient phone number and message content. 
    • Geolocation: Provides location data for map coordinates. Required input values: longitude and latitude.
    • iCalendar: Contains event details for calendar applications. Required input values: summary, location, event date, start and end time.
  • Modules: Choose the grid size of the individual blocks in the QR code. Options range from 21×21 to 177×177. The more modules you set, the more characters will be available in the outgoing data items fields. If you want this setting to automatically adjust depending on the QR code content, select Auto.

    Note: The specific combination of the two selections for QR code type and modules determines the character limit for the QR code content. For Wi-Fi, Email, SMS, Geolocation, and iCalendar QR code types, the content length is calculated by adding up the character count of all text inputs in the required fields.

  • Module style: Select the visual style of the QR code. A selection of squares, circles, and bars is available to give QR code images an individual look.
  • Background color: Specify the background color in hexadecimal format (for example, #FFFFFF for white). 
  • Ink color: Specify the color of the modules in hexadecimal format (for example, #000000 for black). 
  • Generated image dimensions: Define the image size in pixels. The value applies equally to width and height since QR codes are square images. The following table presents the recommended sizes depending on your modules setting. 
    Modules (Range)Recommended Image Size
    21 x 21 – 33 x 33240
    37 x 37 – 41 x 41280
    45 x 45 – 49 x 49300 – 320
    53 x 53 – 65 x 65340 – 400
    69 x 69 – 77 x 77420 – 460
    81 x 81 – 97 x 97480 – 560
    101 x 101 – 177 x 177580 – 960
  • Generated image format: Choose the image file format: JPEG, PNG, BMP, GIF, or TIFF. 

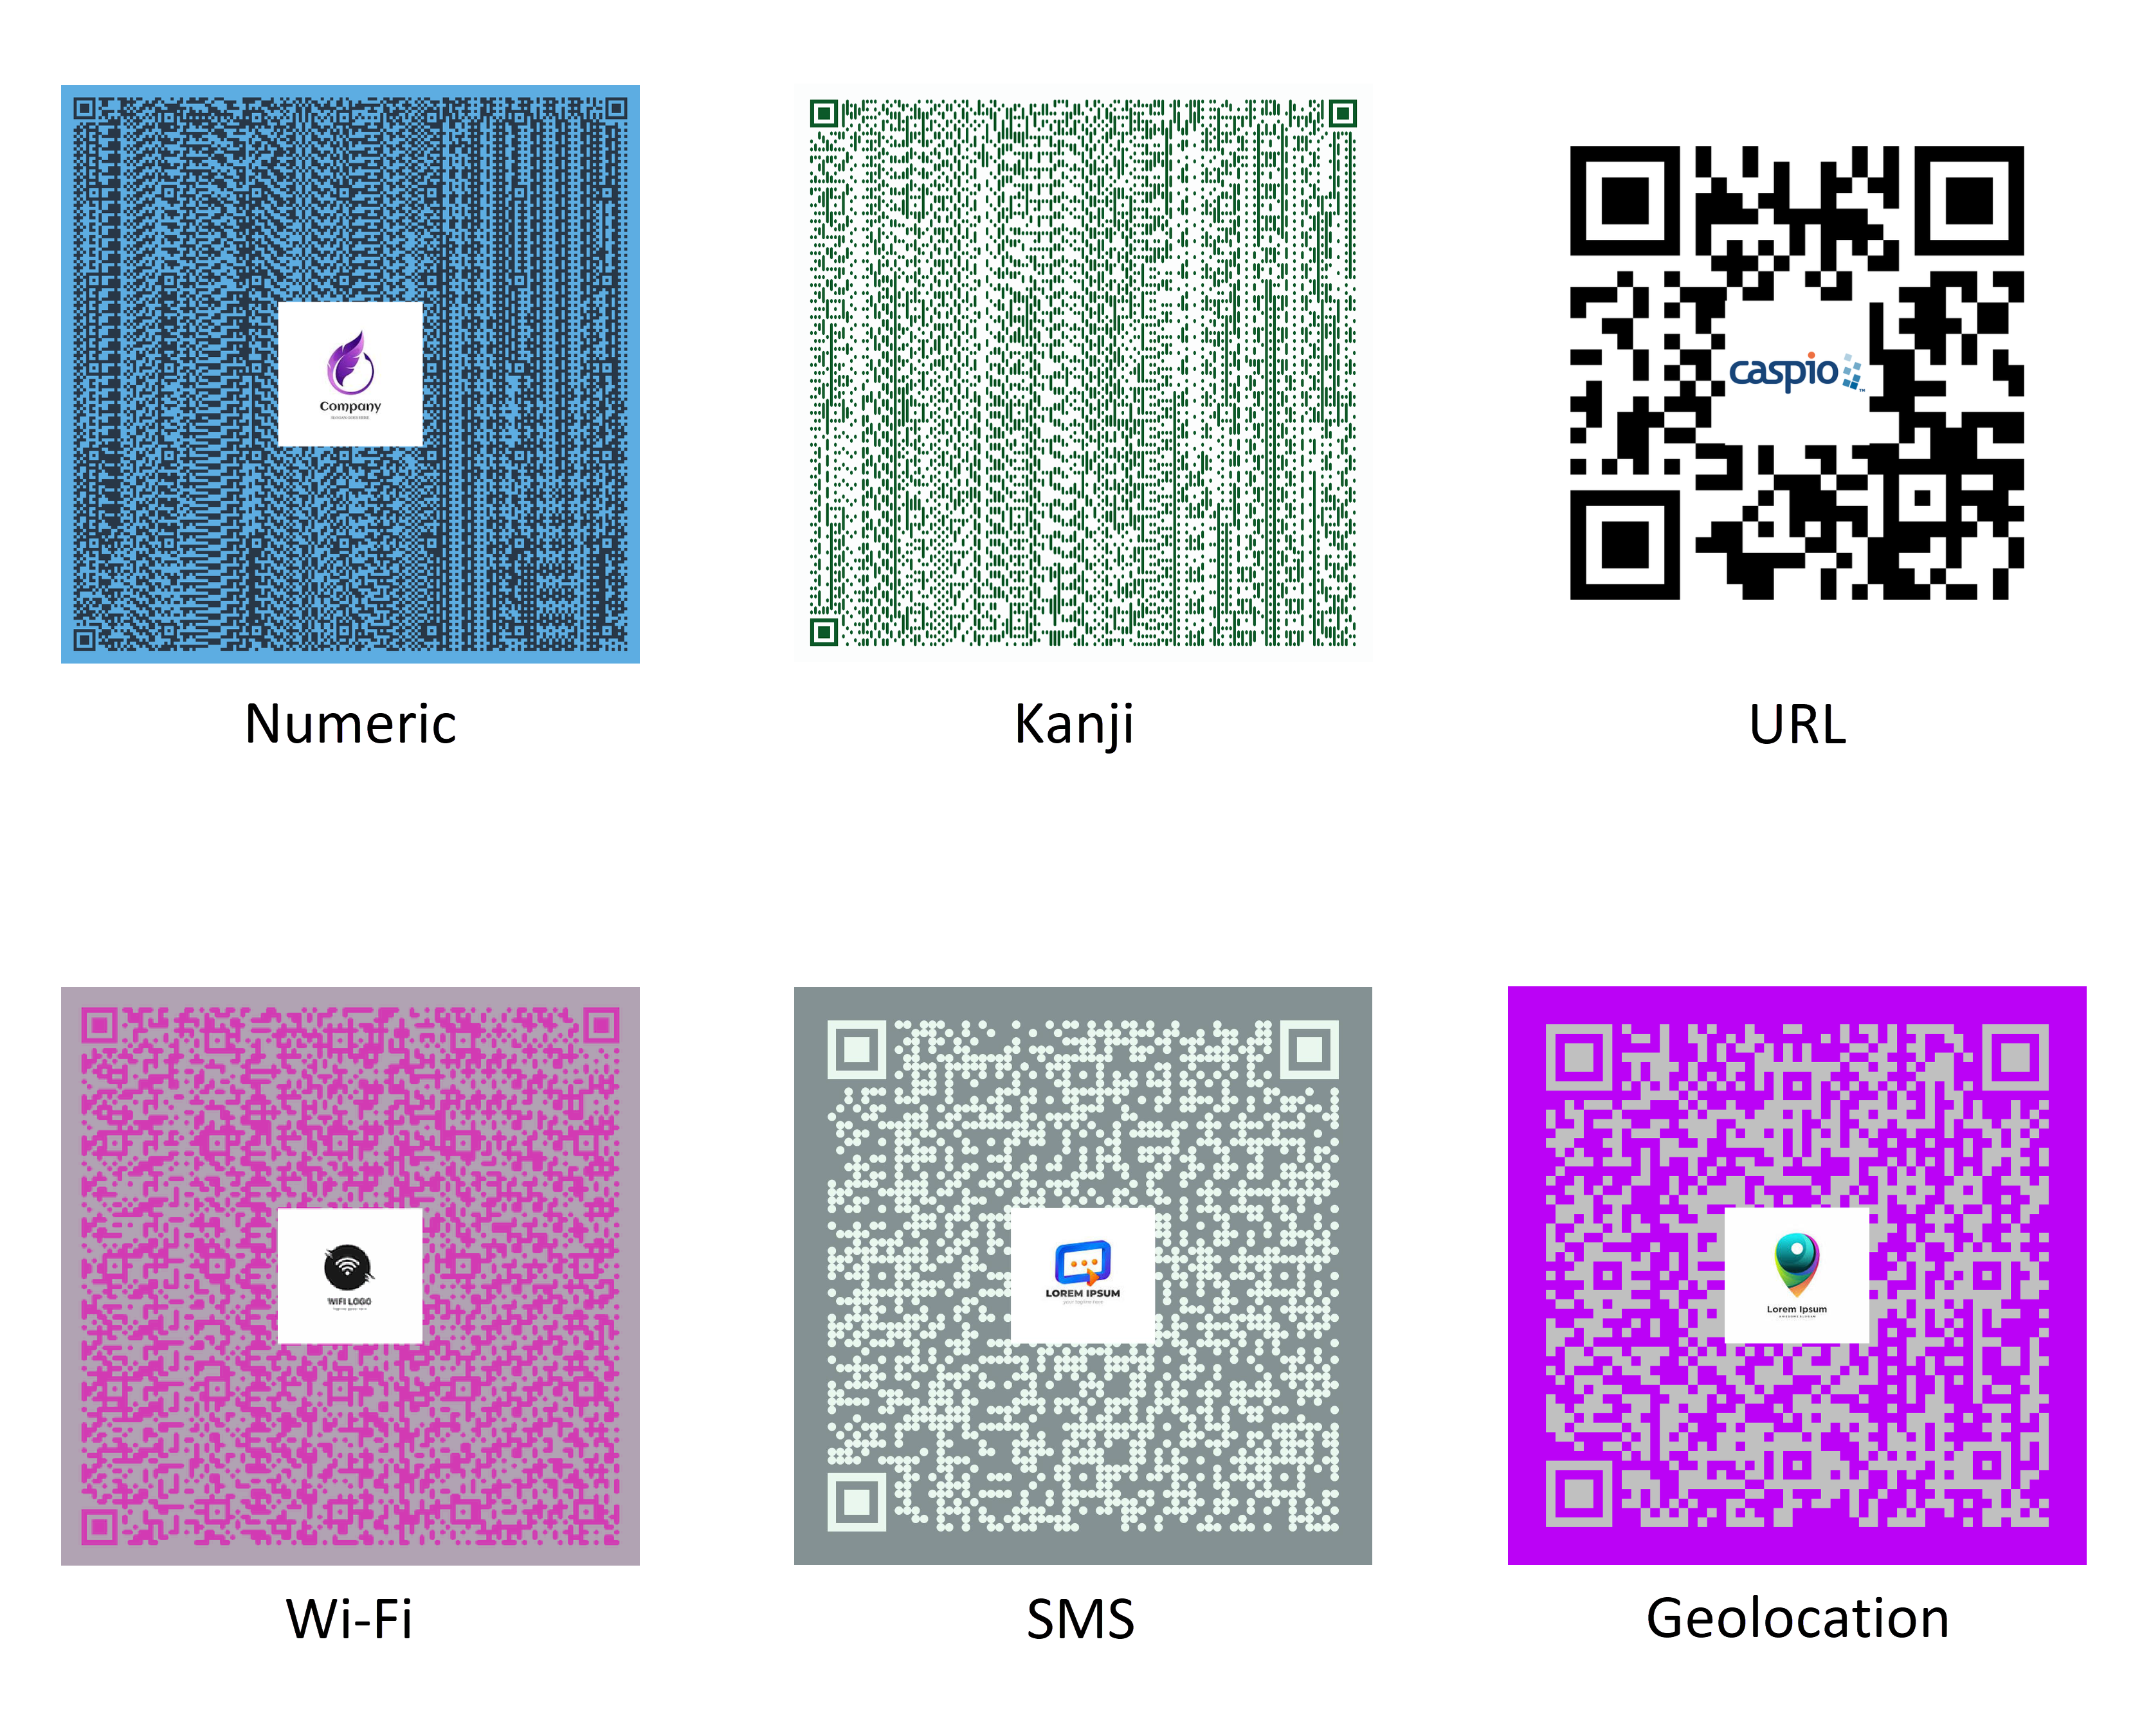
Here are some samples of QR codes that you can generate using this extension.Image showing samples of QR code types

Outgoing Data Items

The outgoing data items configuration depends on the QR code type selected in the profile settings:

  • For Numeric, Alphanumeric, Byte, Kanji, UTF-8, and URL QR code types, in the Content for QR code field, provide the content that the generated QR code will show upon scanning. You can use fields from your tables. The allowed values are determined by the QR code type selected See Profile Settings.
  • For Wi-Fi, Email, SMS, Geolocation, and iCalendar QR code types, enter the content in the relevant fields. For example, for SMS QR code type, input fields for recipient number and message are available.

Additionally, for all QR code types, you can configure a Logo or image: select a File or Attachment data type field to embed a logo or image in the central part of the QR code. Supported formats: JPEG, PNG, BMP, GIF, TIFF.

Incoming Data Items
  • Generated QR code: Stores the created QR code in your table as File or Attachment data type.

    Note: If the Attachment data type field is selected, make sure it accepts the image format selected in the profile settings.

  • Generation status: Provides the result of the QR code creation process. Possible status messages include:
    • “Success.”
    • Failure errors with a description, usually about the provided content not meeting the respective requirements of a particular QR code type or the character limit.
Limitations and Requirements
  • Error correction levels: QR codes include error correction levels to ensure they remain scannable even if partially damaged or obscured. The extension supports Level M (medium correction, 15% error recovery), and if a logo or image is used, Level H (high correction, 30% error recovery).
  • Distinct colors: Background and ink colors must have sufficient contrast to ensure the QR code is easily scannable.
  • Size: Larger QR codes with dense data require high-quality printing for readability.
  • Character limit: The maximum number of characters a QR code can store depends on its type and module size. The following table shows the maximum characters allowed per each combination of the modules setting and QR code type.
    ModulesNumericAlphanumericByte, UTF-8,
    URL
    KanjiWi-Fi, Email, SMS,
    Geolocation, iCalendar
    21 x 2117107410
    25 x 25342014820
    29 x 295835241535
    33 x 338250342150
    37 x 3710664442764
    41 x 4113984583684
    45 x 4515493643993
    49 x 492021228452122
    53 x 532351439860143
    57 x 5728817411974174
    61 x 6133120013785200
    65 x 6537422715596227
    69 x 69427259177109259
    73 x 73468283194120283
    77 x 77530321220136321
    81 x 81602365250154365
    85 x 85674408280173408
    89 x 89746452310191452
    93 x 93813493338208493
    97 x 97919557382235557
    101 x 101969587403248587
    105 x 1051056640439270640
    109 x 1091108672461284672
    113 x 1131228744511315744
    117 x 1171286779535330779
    121 x 1211425864593365864
    125 x 1251501910625385910
    129 x 1291581958658405958
    133 x 133167710166984301016
    137 x 137178210807424571080
    141 x 141189711507904861150
    145 x 145202212268425181226
    149 x 149215713078985531307
    153 x 153230113949585901394
    157 x 157236114319836051431
    161 x 1612524153010516471530
    165 x 1652625159110936731591
    169 x 1692735165811397011658
    173 x 1732927177412197501774
    177 x 1773057185212737841852
Resource Usage

This extension uses two types of resources:

  • Credits: Each QR code uses 0.4 Credits. See Caspio Credits.
  • Integrations calls: An agent makes 3 to 7 integrations calls per task, depending on the use case, to perform actions such as sending the request and an optional logo, storing the QR code image, and logging.
  • PRODUCT

  • Platform Overview
  • Why Low Code
  • Case Studies
  • App Marketplace
  • Pricing
  • Get a Custom Demo
  • Free Trial
  • SOLUTIONS

  • Healthcare
  • Education
  • Government
  • Financial Services
  • Energy and Utilities
  • Nonprofits
  • Media
  • Consulting
  • RESOURCES

  • Resource Center
  • Blog
  • Free Training
  • Online Help
  • Onboarding
  • Get Certified
  • Professional Services
  • Support Center
  • COMPANY

  • Our Story
  • Careers
  • Leadership
  • News
  • Partner Programs
  • Referral Program
  • Academic Program
  • Discount Programs
  • Contact Us
  • TRENDING

  • Build Custom CRM
  • Create Web Dashboards
  • Best Online Database
  • Convert Excel to Web
  • Migrate MS Access Online
  • HIPAA Compliant Database
  • Create a Patient Portal
Caspio Logo

Caspio is the world’s leading cloud platform for building online database applications without coding.
Start a free trial today and experience the power of no-code.

Footer Partners

© 2025 Caspio, Inc. Sunnyvale, California. All rights reserved.

  • Privacy Statement
  • Terms of Use
  • Report Abuse
  • Feedback