Configuring SMS
5 minutes to readConfiguring SMS in Triggered Actions
Triggered Actions allow sending automatic SMS notifications upon addition, modification, or deletion of a record in DataPages. They can be executed by building an application logic using the visual interface.
Sending SMS messages with Triggered Actions
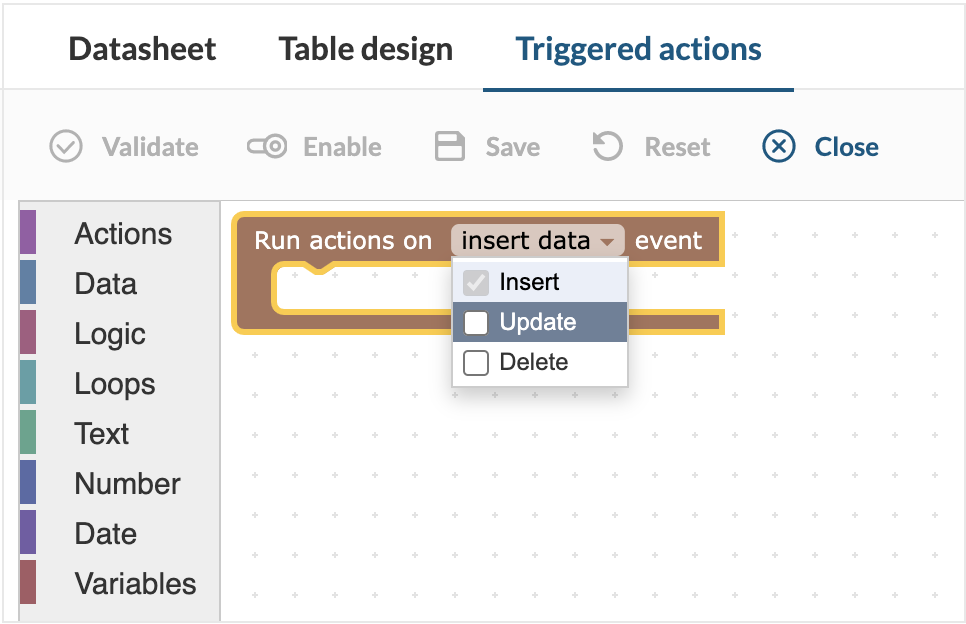
- From the Triggered Actions tab of the table you want to base the trigger on, click New Triggered Action.
- Select events on a table that will trigger your action. You can choose between Insert, Update, and/or Delete.
- From the left-hand menu, select Send SMS as an action that should run when a trigger executes. Click or drag this action block.
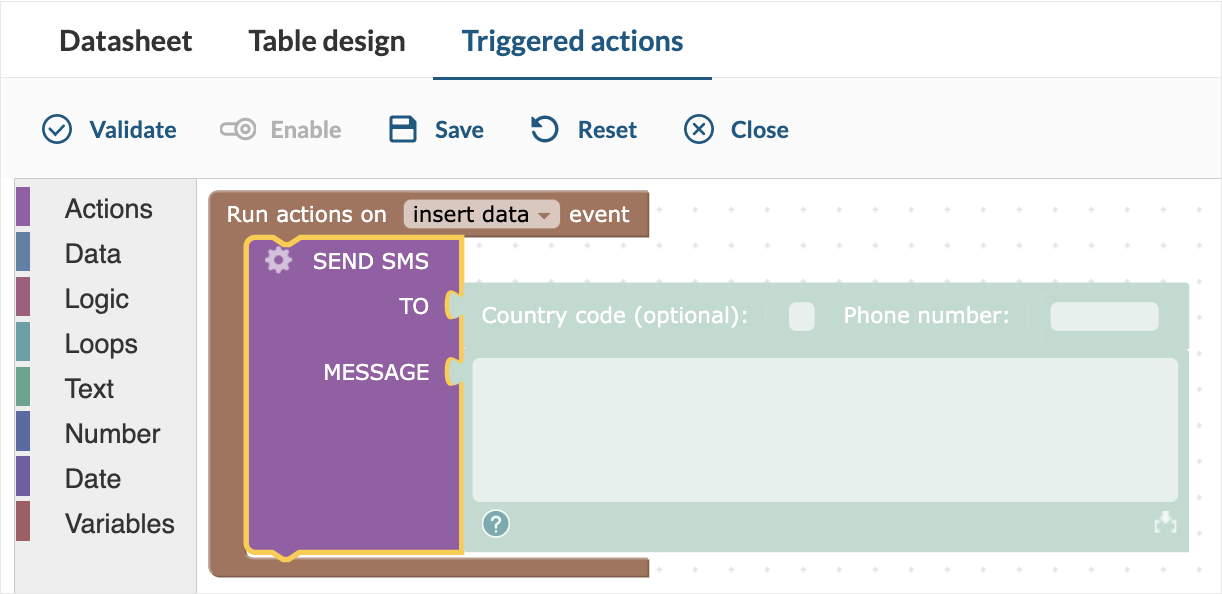
- By clicking the gear icon in the notification Action block, you retrieve data from tables to use in the subject or message body.

- In the TO field, insert the country code and phone number. If no country code is entered, it will be auto-filled with +1. You can also use an international phone number format with the code included in the Phone field.
- By clicking the
 picker icon you can insert a field value in the message body or subject line. This is available only when SELECT statement is used to retrieve data from tables.
- By clicking the gear icon in the notification Action block, you retrieve data from tables to use in the subject or message body.
Note: The message body can contain a maximum of 160 characters. For non-GSM characters, the limit is 70.
- You can click the Validate button in the upper menu to check if there are no errors in the trigger.
- Select Save from the top menu.
- Name your trigger and then select either Save or Save & Enable.
Configuring SMS in Tasks
Tasks are operations that you can create in your application and run them manually or automatically based on a predefined schedule. You can use them, for instance, to send SMS messages with best wishes and special offers on your customers’ birthdays.
Sending SMS messages with Tasks
- On the sidebar of your application, click Tasks.
- Click New Task and build your task in the task editor.
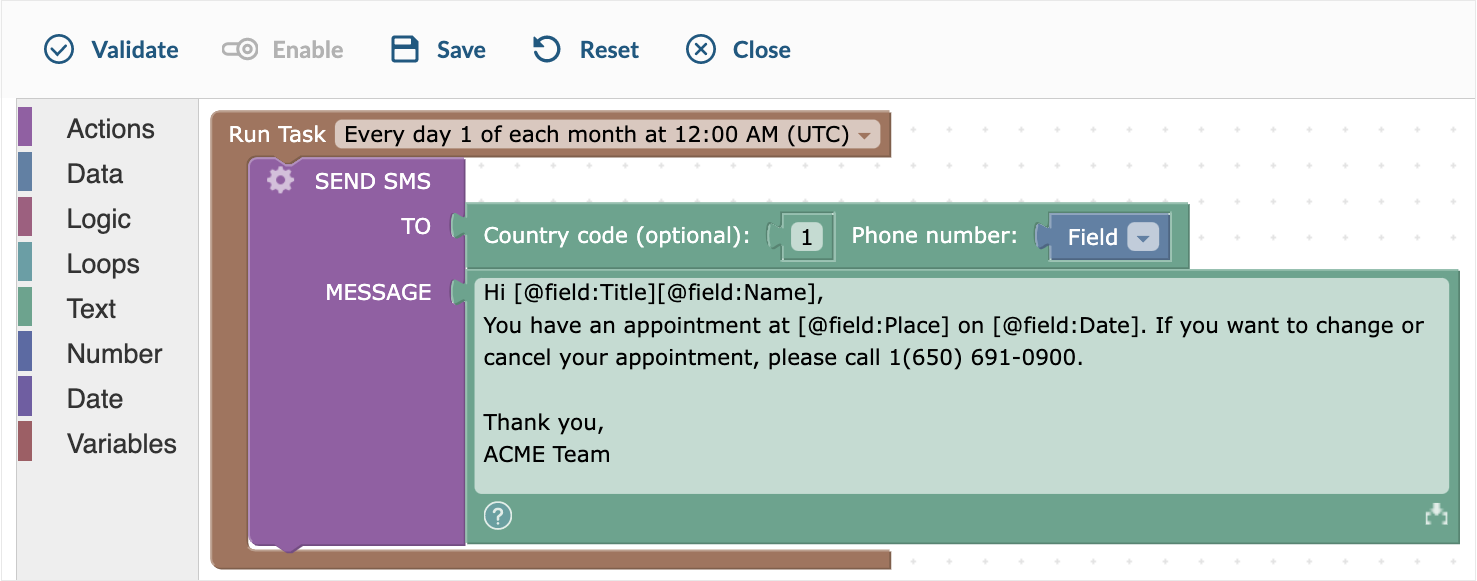
- Click on the dropdown to set the frequency of your task runs.
- For manual tasks, select the On Demand option. For more information, see Running a task manually.
- For repetitive tasks, select Configure… and set the task schedule options as needed.
- From the left-hand menu, click or drag the Send SMS action block.
- In the TO field, insert the country code and phone number. If no country code is entered, it will be autofilled with +1. You can also use an international phone number format with the code included in the Phone field.
- By clicking the picker icon you can insert a field value in the message body or subject line. This is available only when SELECT statement is used to retrieve data from tables.
Note: The message body can contain a maximum of 160 characters. For non-GSM characters, the limit is 70.
- You can optionally test the correctness of your logic by clicking Validate. If there are errors, you must fix them before you can save the task.
- Click Save and name your task.
- Save your task. If you want to enable the task immediately, click Save & Enable.
