Register Your App with ID Services

To create a Connection with Google or Twitter, you will first need to register your app with each provider you want to use. Refer to the article Setting Up ID Services for instructions. Once registered, you will receive a pair of values which each service:

  • Google – Client ID and Client secret
  • Twitter – Consumer key and Consumer secret
  • OpenID – No registration required

Create a Connection Object
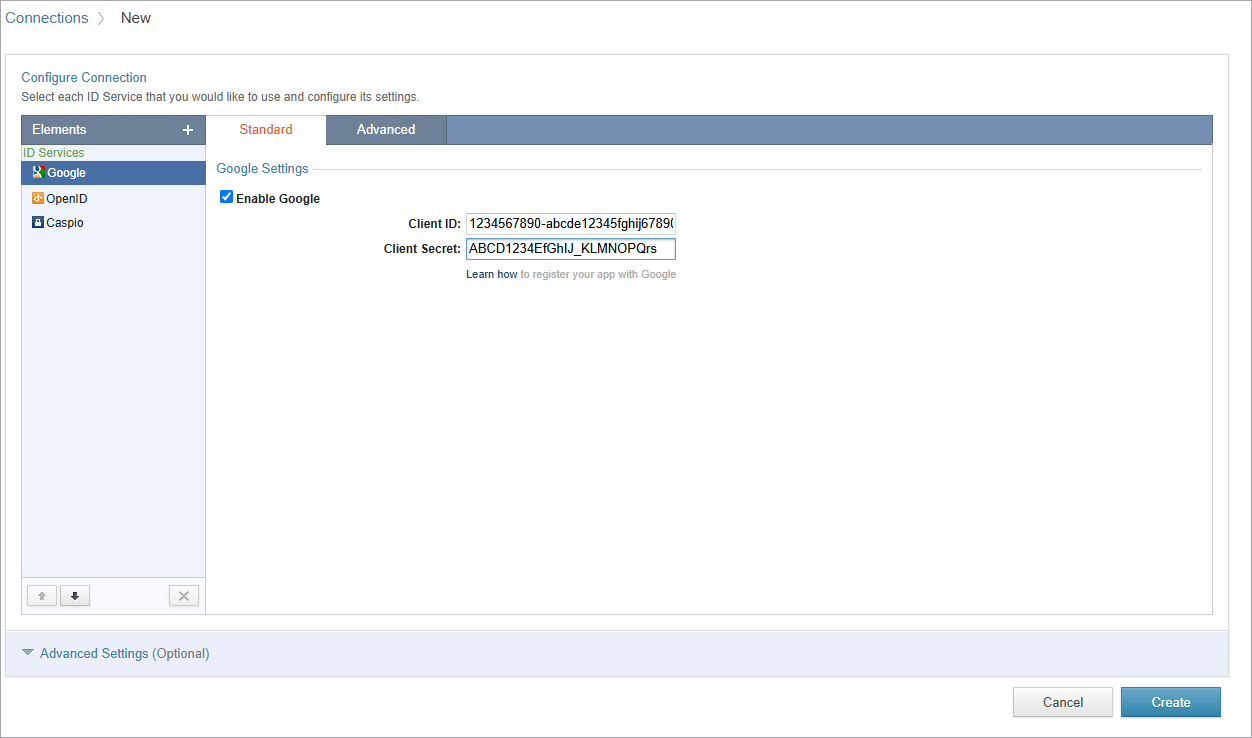
Enabling Google, Twitter or Open ID

  1. Click on the Connections section in the sidebar and then click on New Connection.
  2. A list of ID Services is presented on the ID Services panel on the left.
  3. Enable each ID Services as desired and enter the secret values provided during registration.

Enabling Caspio Authentication as an ID Service

It is possible to use a Caspio Authentication as an ID Service for a Connection. However, because Authentications can be based on any of your tables, you will need to map the fields from your authentication table that you want to be available for the Connection. A standard list of ID Services fields are displayed along with a list of the fields from your users table with compatible Data Types (see Data Types for more details). You can map the fields that you intend on using in your App.

Banning Users via a Blacklist

You can ban specific users or user groups from using Connections to access your applications. To enable the blacklist option, go to the Advanced tab of any ID Service and select the table or view that contains your blacklist. Next, select a field that identifies banned users or groups and map the field to the corresponding ID Service field.

Note: Blacklist is not enabled for all ID Services that you are using. Each ID Service has its own blacklist.

Layout Options

Select how your Connection login interface will be displayed. The specifics of the layout are managed in the Style object that is associated with your connected DataPages.

Advanced Settings

  • Logout destination. This is the page or URL that the user is redirected to when they sign out of your connected app.
  • Timeout and redirection. Gives you the ability to expire the session after a period of inactivity and redirect the user to a specific entry page.
  • Auto-focus on the first field. Focus the cursor on your login form for improved usability.

Apply Connection to DataPages

To apply this Connection to an existing DataPage, edit the DataPage and apply the Connection object on the second screen of the wizard. When a Connection is applied to a Submission Form, two further options are provided:

  • Before form load. User has to successfully connect via one of the connection methods that you have enabled before they can see the form. This is useful for registration forms or other long forms.
  • After form submission. The form will be visible for all users, but submitting the form requires the user to connect. This is useful in forms such as those for commenting or feedback.

Additional Customizations

You can further customize your Connection by modifying the Localization and Style objects associated with your DataPage.

ID Services Elements in Styles:

ID Services Elements in Localizations: