Opening Details DataPages in a Lightbox
4 minutes to readThere may be situations where you don’t want the user to leave the results page to see details. If you prefer to show details overlayed on top of results, follow this article to make your Details Report DataPages open in a lightbox. We are assuming you are already familiar with Creating a Report DataPage.
To achieve this, you will need two DataPages: one for generating the results based on a search or predefined criteria, and a separate Details DataPage for displaying an individual record.
Prerequisites:
Verify that you have a Details DataPage built on a table with a unique ID field.
Steps:
- Update your Details Report DataPage to ensure the following configuration:
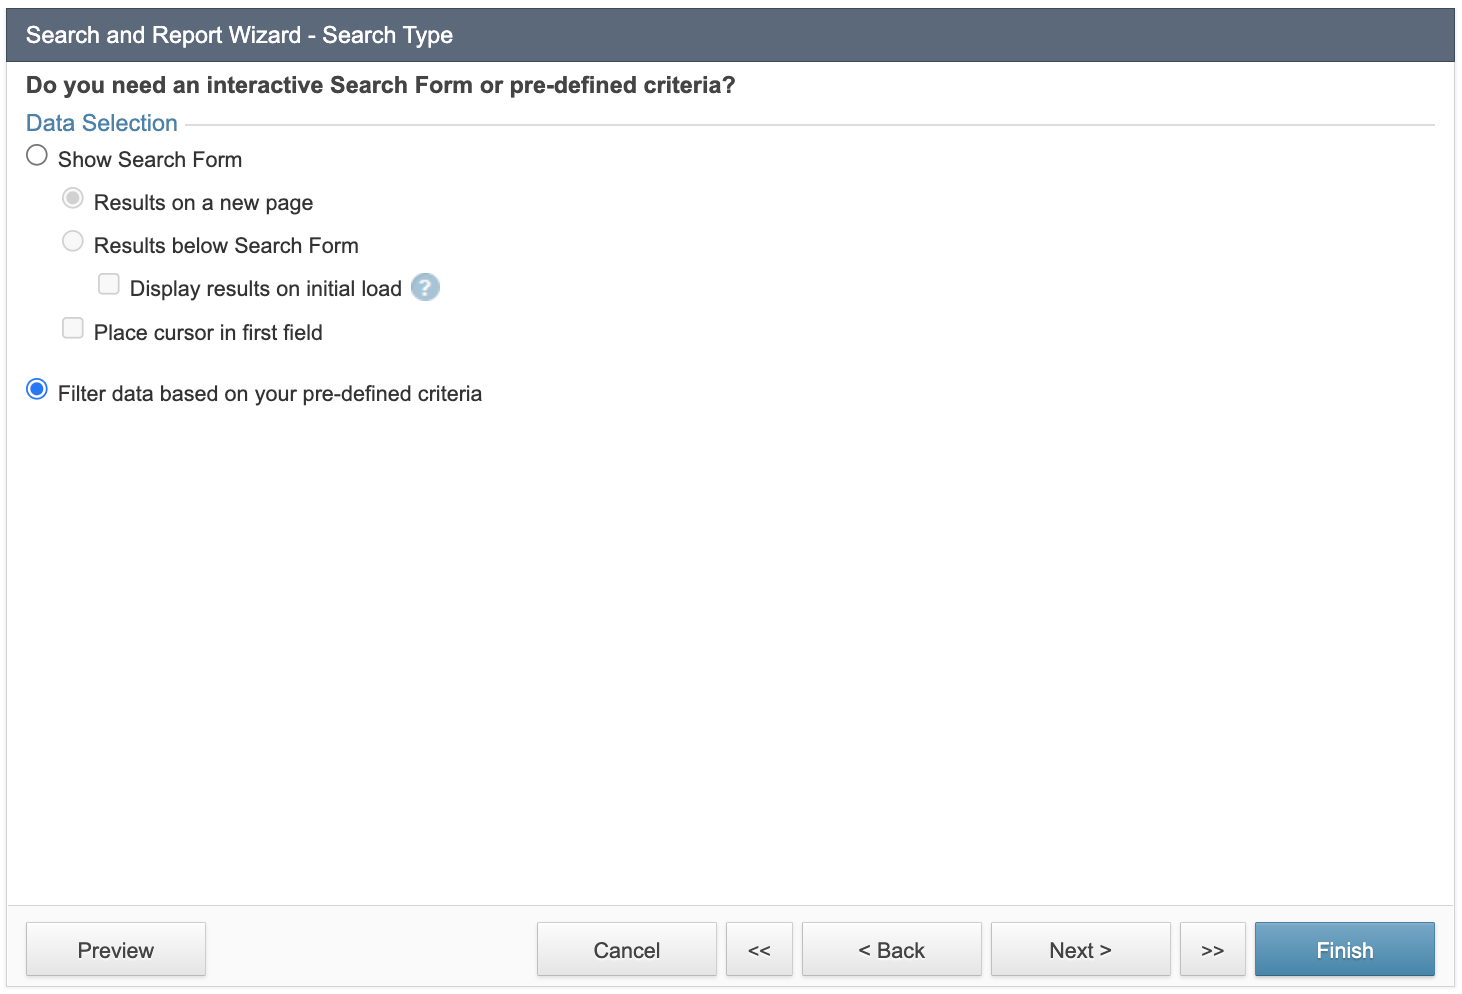
- On the Search Type screen, select the Filter data based on your pre-defined criteria radio button.
- On the Select Filtering Fields screen, move your unique ID field to the Selected Fields panel on the right.
- On the Configure Filtering Fields screen, click the Advanced tab, and select the Receive value or parameter checkbox. From the dropdown list, select External Parameters and enter the name of your unique ID field in the [@Name] format.
- Select the Value required radio button.
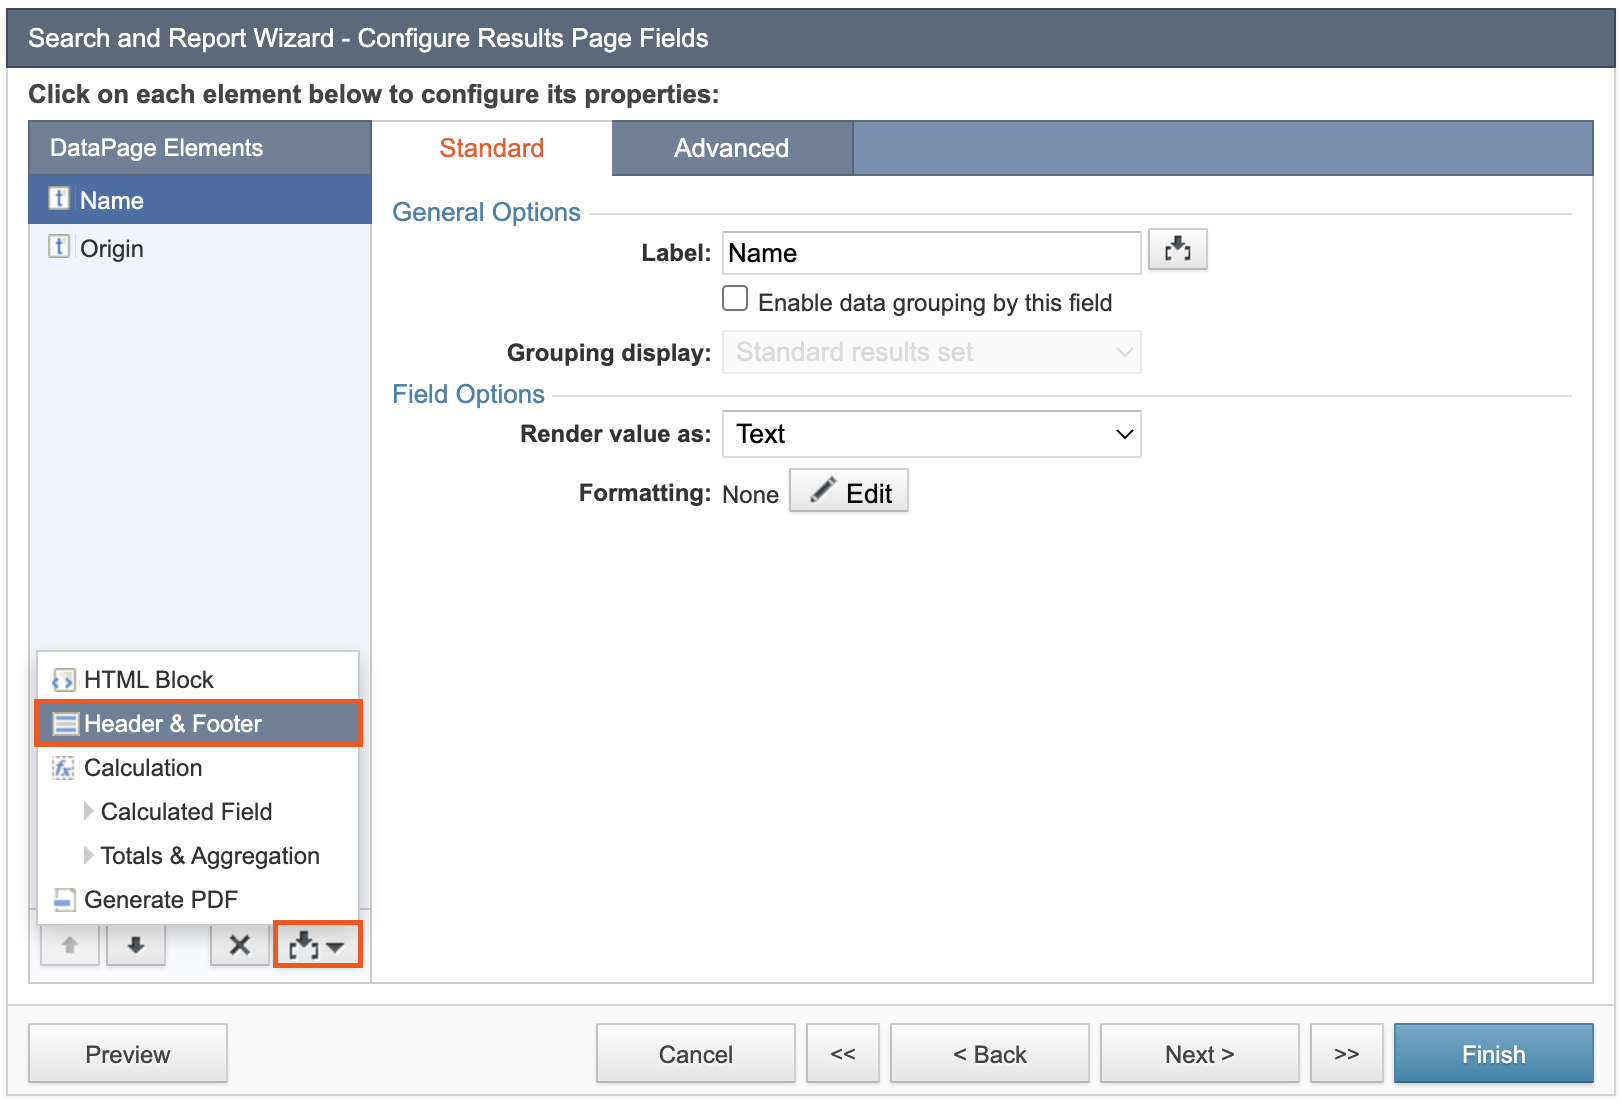
This option ensures your Details page needs a parameter value to show a record. Otherwise, it will show a No records found message. For more options, see Using parameters as pre-defined search criteria. - On the Configure Details Page Fields screen, from the left DataPage Elements panel, click the Insert button on the bottom right to add Header & Footer. In the footer, disable the HTML editor and paste the following code:
- Save the changes. If not deployed, deploy the Details DataPage.
- From the DataPages screen, open the Properties of the Details DataPage and copy the Caspio AppKey for later use.

- On the Search Type screen, select the Filter data based on your pre-defined criteria radio button.
- Create a Report DataPage of any type except for Details. Ensure the following configuration:
- On the Configure Results Page Fields screen, from Data Page Elements left panel, click the insert button on the bottom right to add Header & Footer.
- In the Header, disable the HTML editor, and then copy and paste the following CSS and JS libraries.
Note: If you are using this tutorial on a bootstrap template, the template might come with the libraries listed above. If so, skip this step.
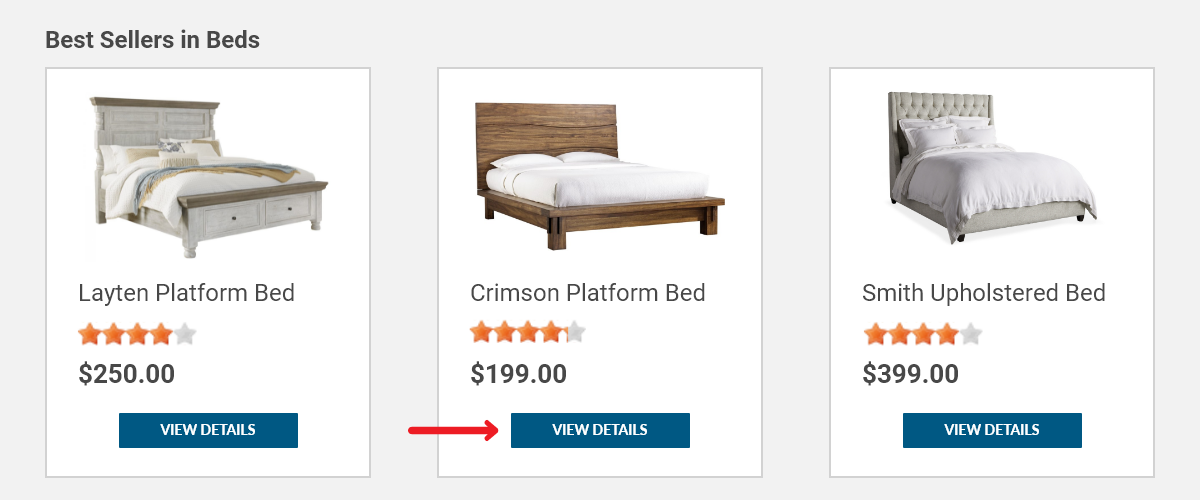
- Click the insert button to add an HTML Block. Click the Source button and paste the following code.
You are adding the button that will open up the lightbox.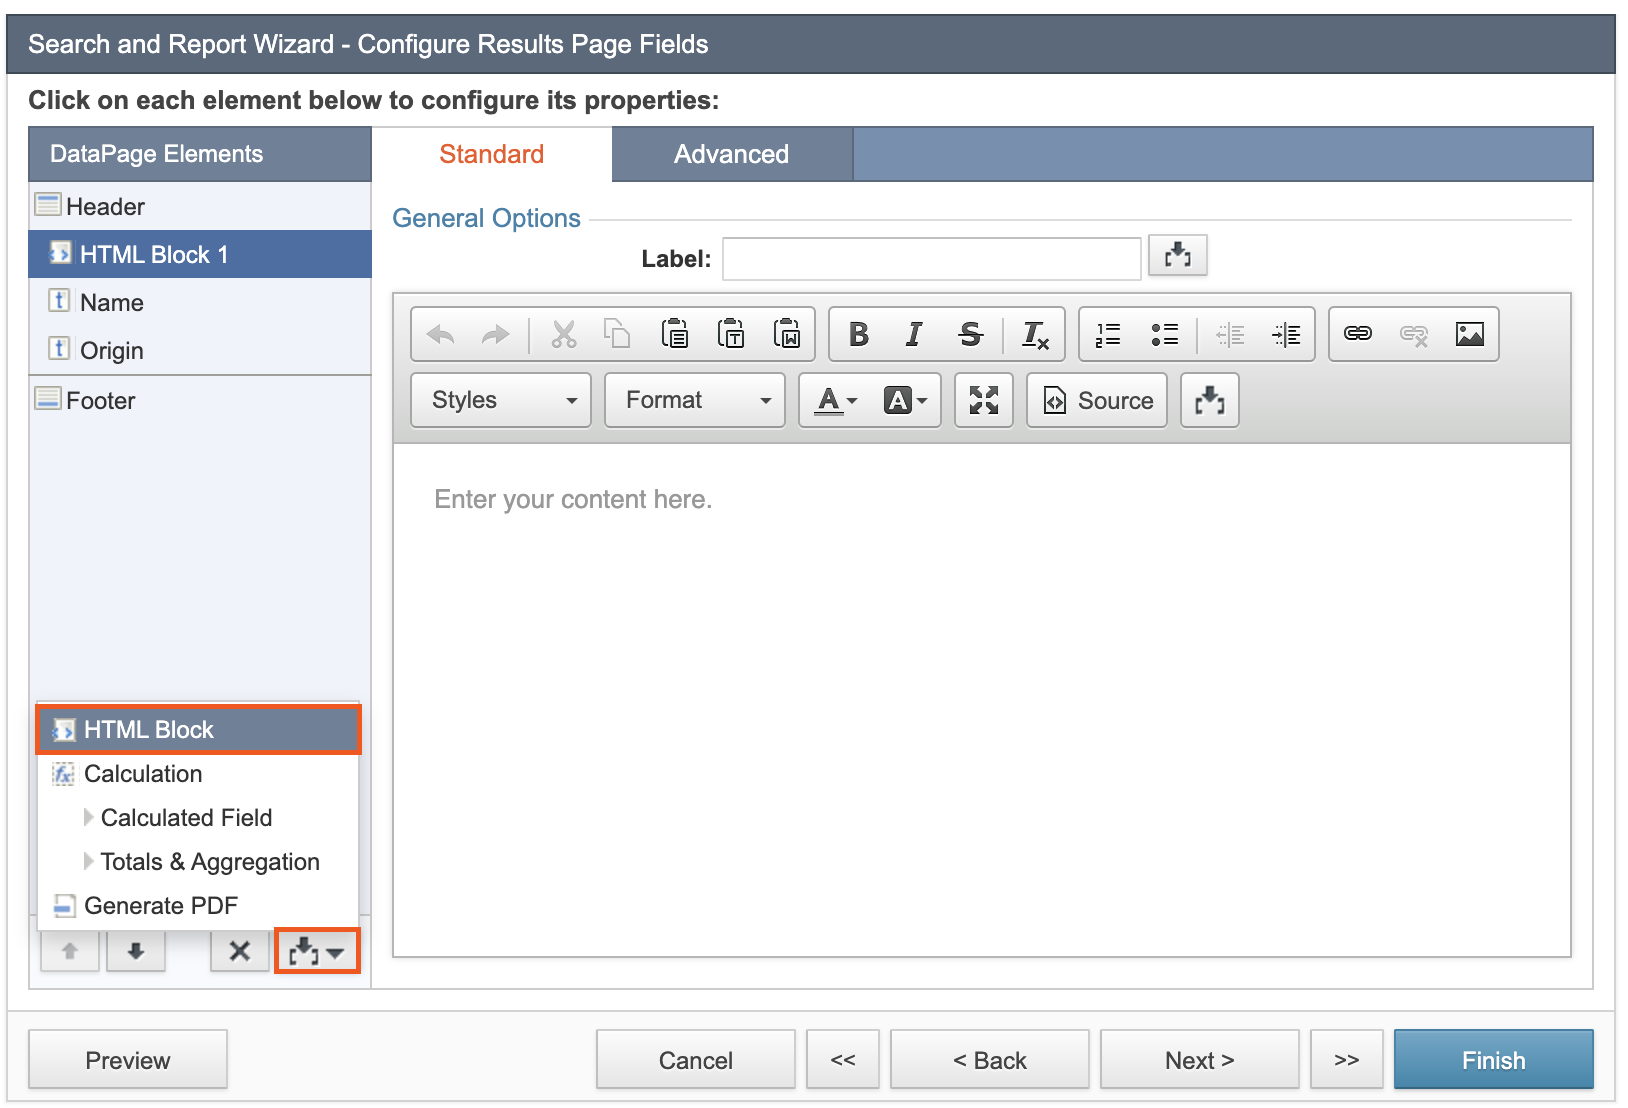
- On the Configure Results Page Fields screen, from Data Page Elements left panel, click the insert button on the bottom right to add Header & Footer.
- Configure the pasted code by replacing the following values:
- Lightbox Title: the title for your the lightbox.
- Appkey: the AppKey of your Details DataPage without the first 8 characters. It will appear on the lightbox.
- UniqueIDName=[@field:UniqueIDName]: the unique ID field of your table. It contains the parameter name and parameter value.
For more on passing parameters in this format, see Parameters as Query String Values. - Details: the name of the button that opens the lightbox.
- In the Footer of your DataPage, disable the HTML editor and paste the following code, replacing AccountID with your Account ID and AppKey Prefix with the first 8 characters of the AppKey for the Details DataPage.
- Configure the pasted code by replacing the following values:
This code contains the lightbox and the JavaScript that will embed the DataPage into the lightbox.
Click Next and proceed with the configuration. On the Details Page screen, select the No Details Page radio button. Save the DataPage by clicking Finish and deploy it.
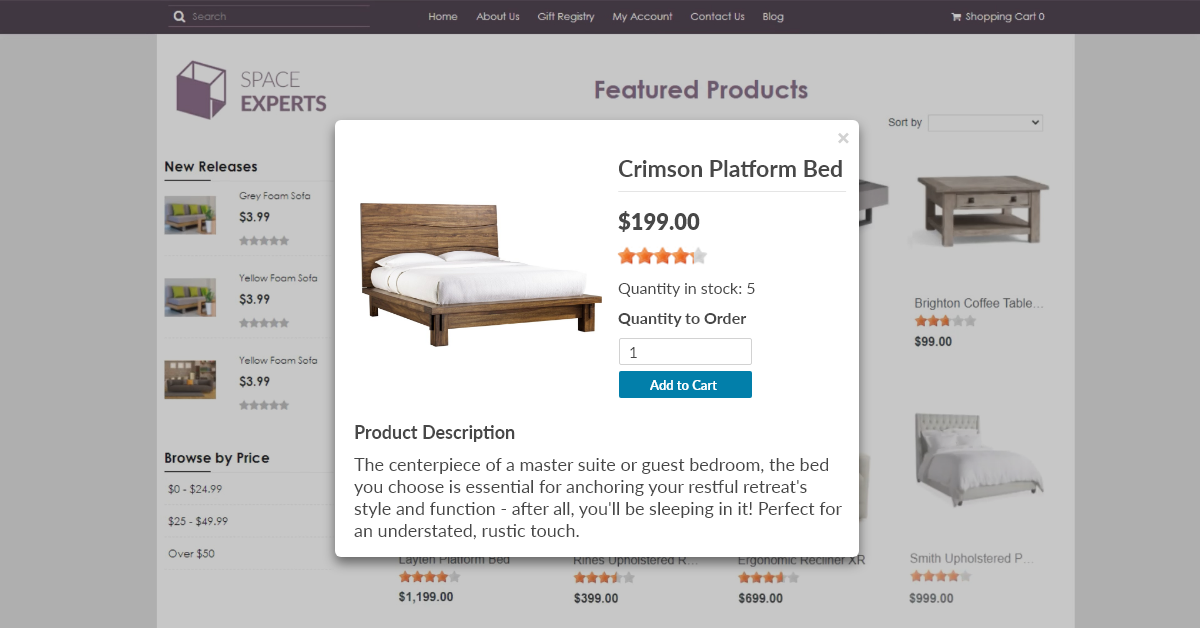
Result: When the user clicks the button you configured, a lightbox will open and show the record details.
Example: