Creating an Approval Workflow with Email Notification
2 minutes to readIn this article, we will guide you on how to create an approval workflow through email notification that allows users to approve or reject requests by clicking on a button in the email message body. We used paid time off request workflow as an example to guide you through the configuration.
Steps:
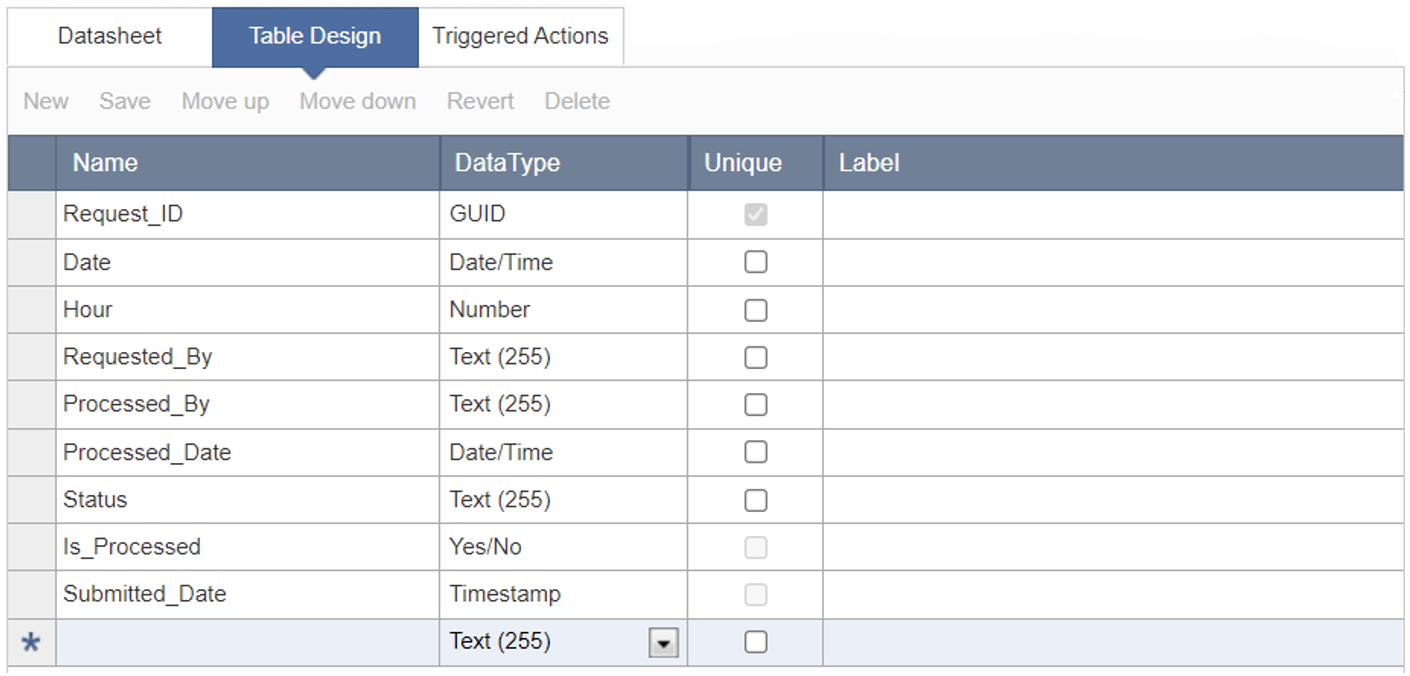
- Create the PTO requests table with fields for approval workflow as shown below. This table will store all information related to PTO requests. You can add your own fields to capture additional information if needed. For approval workflow, we used mainly three fields: Request_ID, Status and Is_Processed. For other fields, you can include them in the DataPages to gather additional information.
- Create a Details DataPage with the above table as the data source. Apply the following configurations for the DataPage:
- In Search Type screen, select Filter data based on your pre-defined criteria.
- Choose Request_ID and Is_Processed fields as the filtering fields.
- In Configure Filtering Fields screen, configure Request_ID equal to parameter [@rid] and Is_Processed equal no (uncheck the checkbox).
- Select Status and Is_Processed fields for Details page.
- In the Configure Details Page Fields, set both fields to Hidden form element.
- Configure Status field to receive parameter [@status].
- Set Is_Processed value to “Yes”.
- Add a Footer and disable the HTML Editor in the Footer.
- Copy and paste the following code in the Footer section:
- Save and deploy the DataPage to your site.
- Record the URL of this page for future use.
- Create a Submission Form DataPage with the above table as the data source. Apply the following configurations to the DataPages:
- In DataPage Data Source, enable Authentication to only allow authenticated users to submit the request.
- Select proper input fields to show in PTO request form.
- Enable notification email option in the Destination and Messaging screen.
- In the Email Option screen:
- Provide the email of the person who will process the request in the To email address.
- Enter the email content with buttons to approve or decline the request. Use this code for approving request button:
- Replace with the actual URL where you deployed the Details DataPage above.
- Save the DataPage.
