Submitting Multiple DataPages Using One Button
2 minutes to readBy default, each DataPage form has its own Submit button. However, there may be a scenario where you have multiple DataPages deployed on one webpage and want to submit them all with one click. In this article, we will guide you how to create one common Submit button by adding some simple codes.
Prerequisites:
Ensure the following:
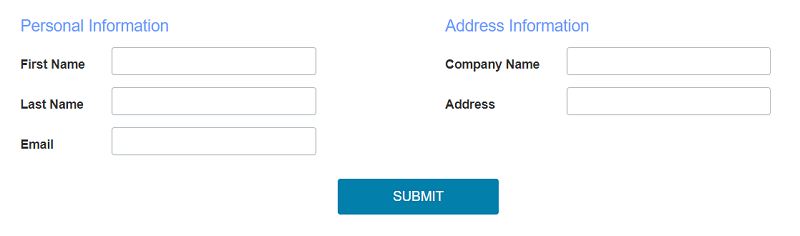
- You have two or more DataPage forms of the same type (Submission Form, Single Record Update, or Details Report with editable form elements).
- The DataPages are not deployed using iFrame.
- The DataPages do not have any required fields or calculated values.
Steps:
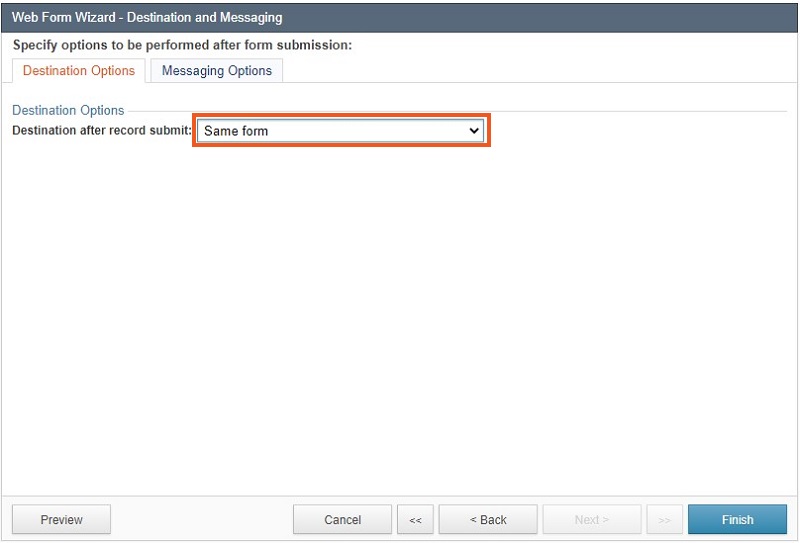
- On the Destination and Messaging screens of all DataPages for which you want to add the common button, select Same form in the Destination after record submit dropdown.
- Edit the DataPage that will be deployed last on the page. Add the following code to the footer of the DataPage. It will hide the buttons of the forms above it. Depending on the type of your DataPages, replace [class] with one of the provided segments:
For Submission Forms: [class^=”cbSubmitButtonContainer”]
For Single Record Update: [class^=”cbUpdateButtonContainer”]
For Details DataPages: [class^=”cbBackButtonContainer”] - Add one common Submit button by creating an HTML DataPage. In the HTML DataPage, disable the HTML Editor and, depending on your DataPage type, paste one the following codes:
For Submission forms:
For Single Record Update:
For Details DataPages: - Deploy your forms and the HTML DataPage to your webpage.
- On the Destination and Messaging screens of all DataPages for which you want to add the common button, select Same form in the Destination after record submit dropdown.
Note: This article uses external HTML, JavaScript, or third-party solutions to add functionality outside of Caspio standard feature set. These solutions are provided “as is” without warranty, support or guarantee. The code within this article is provided as a sample to assist you in the customization of your web applications. You may need a basic understanding of HTML and JavaScript to implement successfully.
For assistance with further customization based on your specific application requirements, please contact our Professional Services team.
