Displaying Image Description on Hover
2 minutes to readEnriching your DataPages with images adds clarity and usability, improving how users receive and interpret the presented content. You can further increase the positive impact that images have on user experience by displaying a tooltip with a description that appears when users hover over the picture.
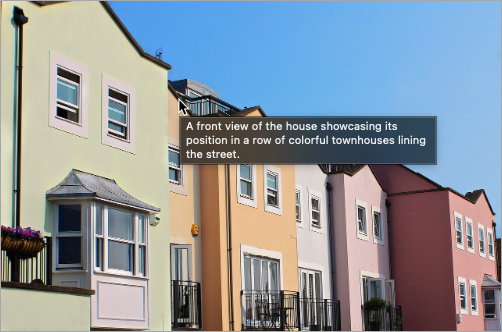
For example, you can include such tooltips on images displayed in a real estate listing app to provide some additional information about each image:
You can use this functionality on Table, Gallery, List, and Details Report DataPages.
Steps:
- In your table, create a File field for storing images and a Text255 field for storing image descriptions that you want to display on hover.
- In a report DataPage, configure the image file field:
- On the Search and Report Wizard – Configure Results Page Fields screen, on the Standard tab, in the Display as list, select Image.
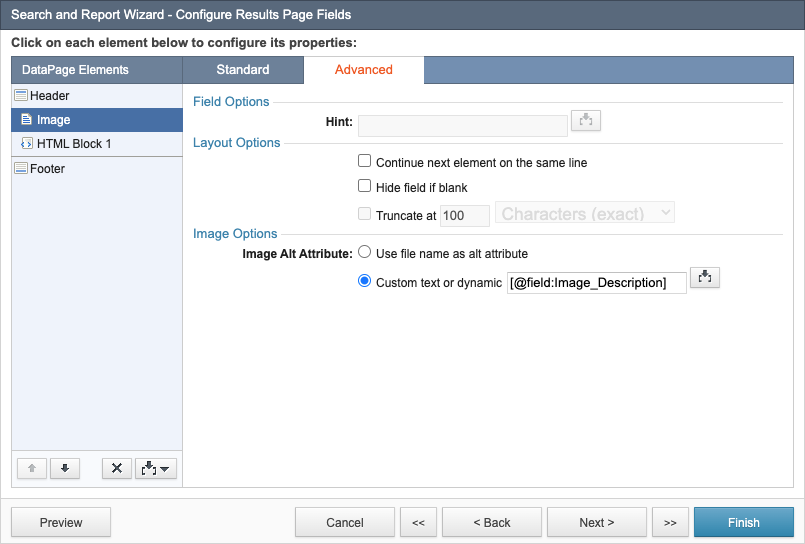
- On the Advanced tab, in the Image Alt Attribute list, select Custom text or dynamic, and then insert a reference to the Text255 field from step 1.
- In the lower-right corner of the DataPage Elements panel, click the Insert button
 , and then add a Header & Footer.
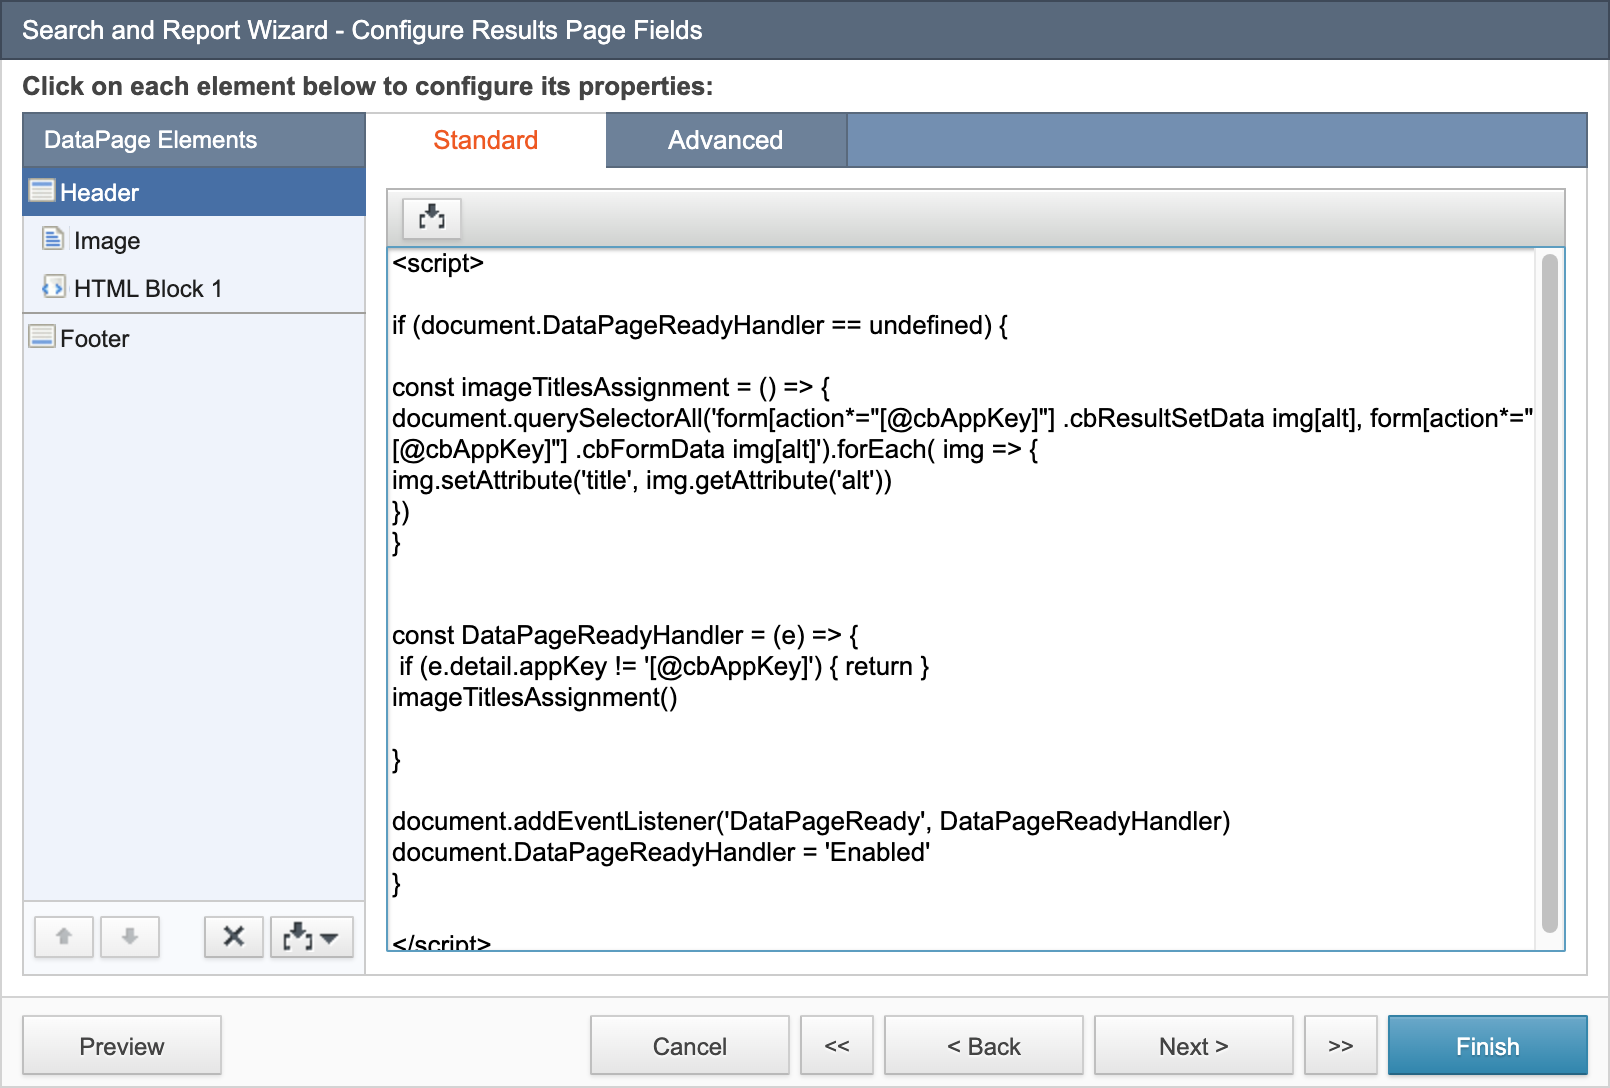
 - In the header of the DataPage, disable the HTML editor, and then add the following HTML/CSS code to display the Image Alt Attribute content in a tooltip when users hover over the image:
- Click Finish.
Result: When the user hovers over an image, the image description will appear in a tooltip.
Note: This article uses external HTML, JavaScript, or third-party solutions to add functionality outside of Caspio Bridge’s standard feature set. These solutions are provided “as is” without warranty, support, or guarantee. The code within this article is provided as a sample to assist you in the customization of your web applications. You may need a basic understanding of HTML and JavaScript to implement successfully.
For assistance with further customization based on your specific application requirements, please contact our Professional Services team.
