Installing Apps
3 minutes to readYou can install Flex apps from Caspio Marketplace or Vault app packages that you created or received.
- Depending on the app source, perform the following actions:
IF… THEN… If you are installing an app package from Vault, If it is an app you received, go to Vault → Received and download the package.
In Vault → Packages, hover over a package you want to install. Click Install.
If you are installing an app template from the Marketplace, In your Flex applications list, click Create App and select Start with an app template from Caspio Marketplace. - Select the installation method:
- If you want to install the app with its settings and objects as they are, select Quick. Click Next. Go to step 6.
- If you want to configure the objects used by the app or use existing users and data, select Custom. Click Next.
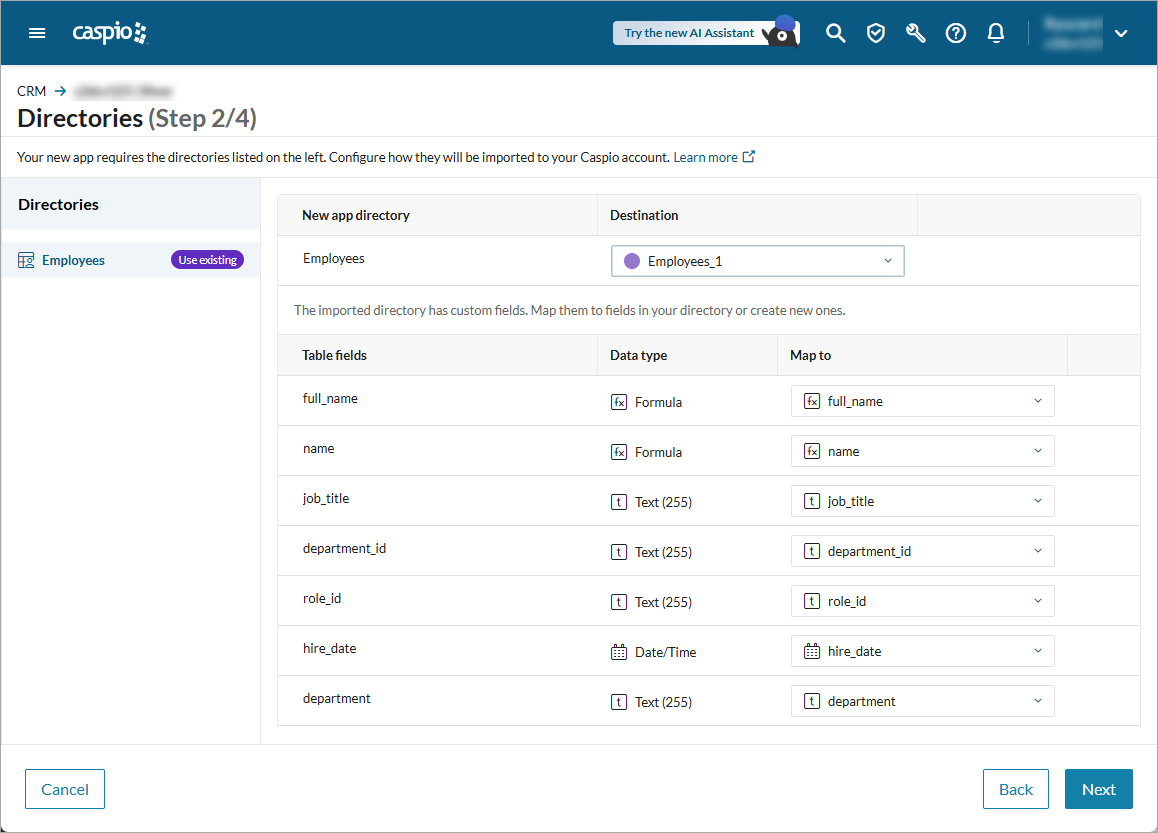
- For all directories used by the app that are listed in the left panel, in the Destination dropdown, make one of the following choices:
- Create a new directory by selecting Create. Enter the new directory name.
- Select an existing directory. Then, for each field in the original directory, choose one of the following:
- Map an existing field in the directory you selected. Field data types must match for a field to be selectable.
- Choose New field to add a new field to this directory. In the Field name column, you can enter a preferred field name.
Click Next.
- For all tables used by the app that are listed in the left panel, in the Destination dropdown, make one of the following choices:
- Create a new table by selecting Create. Enter the new table name.
- Select an existing table and configure the following:
- In the Table action dropdown, select what you want to do with the app data:
- Append data: Add the table data from the app you are installing as new records in your existing table.
- Update table design only: Modify only the structure of your table, without appending any data.
- Update data: Merge the data from the app you are installing with your data in the existing table you selected. To do that, choose the source and destination field for matching the data.
- For each field in the table used by the app you are installing, choose one of the following:
- Map an existing field in the table you selected. Field data types must match for a field to be selectable.
- Choose New field to add a new field to this table. In the Field name column, you can enter a preferred field name.
- In the Table action dropdown, select what you want to do with the app data:
Click Next.
- In the left panel of the Settings screen, choose other objects used by the app that you are installing such as sender email addresses, app parameters, and more. For all settings that you want to modify, assign new values as required. Click Next.
- Optional: After the app is installed, click Open app and review the content of your new application.
