As data tables are the basis of most other objects in your applications—such as views, DataPages, and authentications—take caution when modifying their structure. While some modifications (i.e., adding a new field, changing the order of the fields, setting a field to ‘unique’) is not a cause for concern, some other changes (i.e., deleting a field, changing a data type to an incompatible type) can potentially make a table’s dependent objects unusable. Caspio prevents certain modifications that would result in data loss.

Complete the following steps to modify the structure of a table:

  1. In Tables area, mouse-over the table you want to modify and click Design.
  2. Use the Table Design screen to make changes to the table. Refer to the following sections to learn how you can modify the structure of the table:

Tip: At any time before you save, if you want to restore the table back to its original structure, you can click Revert on the actions bar. Keep in mind that this will cancel all the changes that you already made to the table since the last time it was saved.

Table design view of a sample table with available design options.
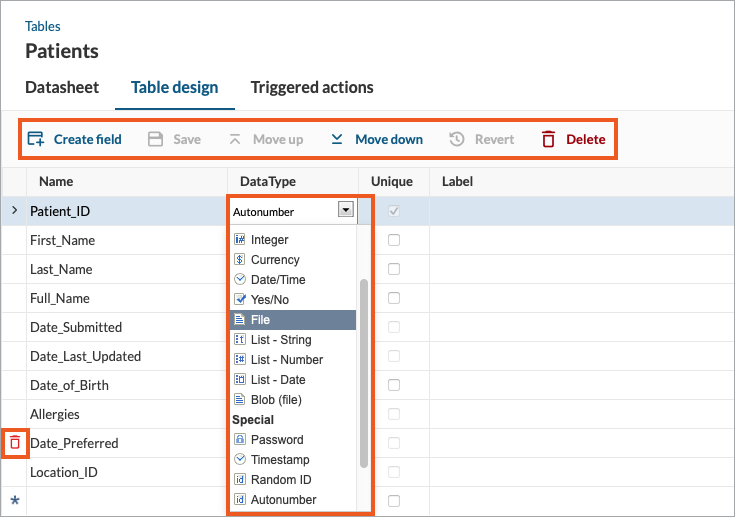
  1. Once you have finished making your changes, click Save.

Adding a New Field

To add a new field, click the last row (marked with an asterisk) of the work area. Or, if you want to insert a new field above an existing field, select the field and click New on the actions bar. You can then enter the properties for the field.

Deleting a Field

To delete a field, select it and click Delete on the actions bar. You can also mouse-over the field and click X in the left-most column. Fields that are used in an authentication object cannot be deleted.

Changing a Field’s Data Type

To change a field’s data type, select the it and use the Data Type dropdown to select a new data type. Certain data type changes—such as Date/Time to Number—can cause data loss. Caspio displays a warning message to confirm if you would like to proceed.

Rearranging the Order of Fields

To change the order of fields, select a field and click Move up or Move Down on the actions bar.